INTERIOR PAINTING · DRYWALL · FLOORINGServing Fort Wayne & Northeast IndianaCall (260) 410-8107
Selected Brightline projects

See the work. See the difference.

Real homes, real renovation stages, and the finishes that bring a space together. Every image in this portfolio comes from a Brightline project.

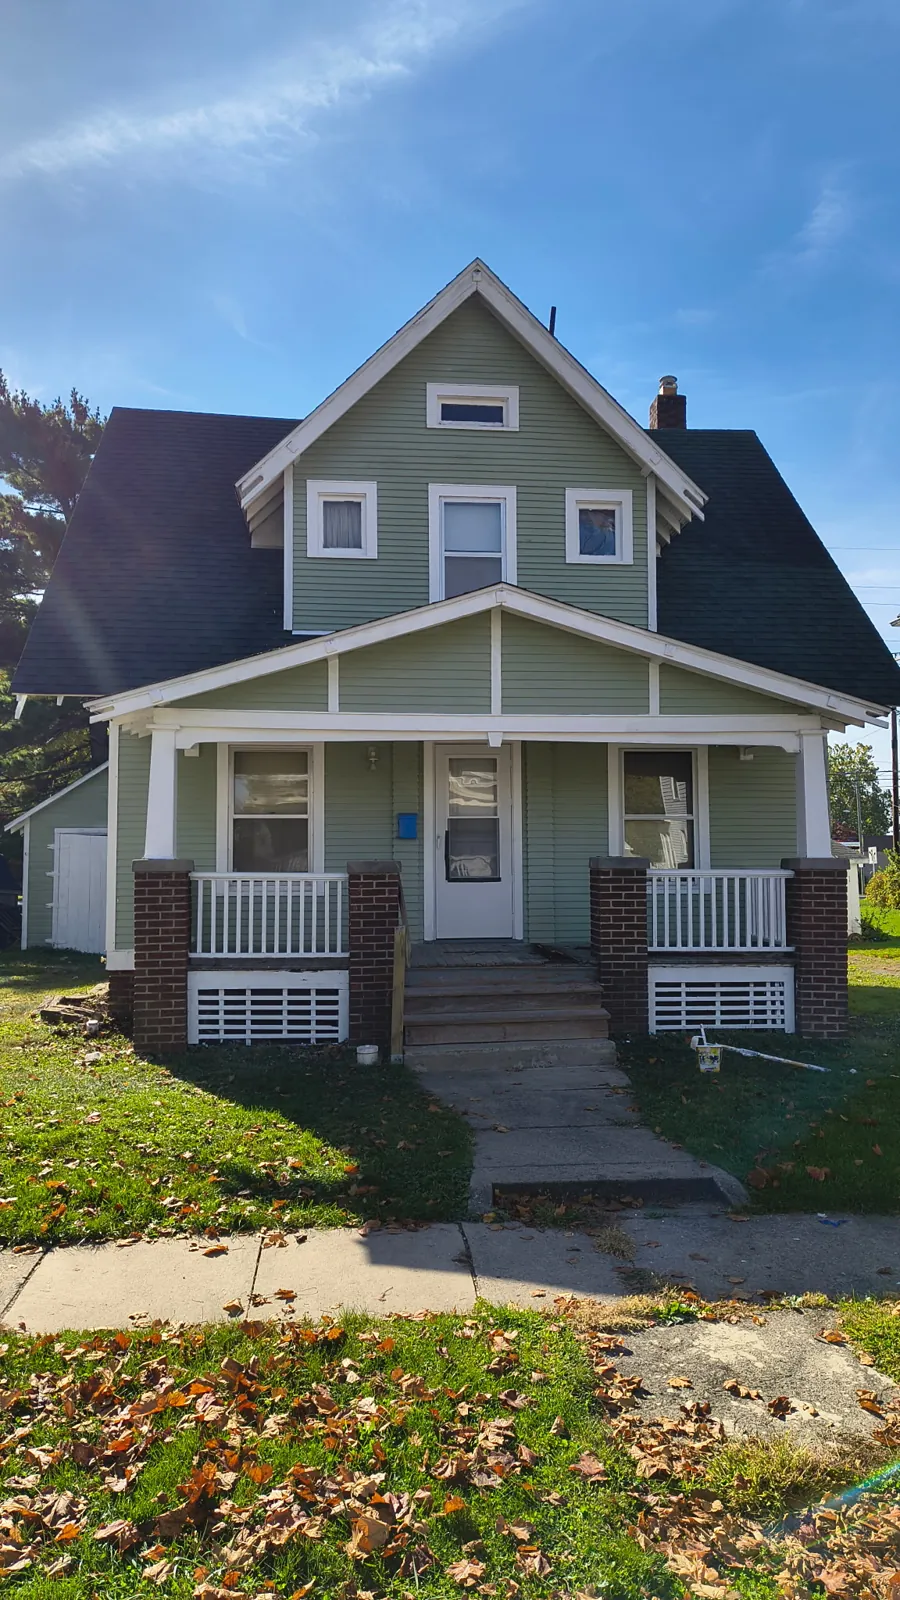
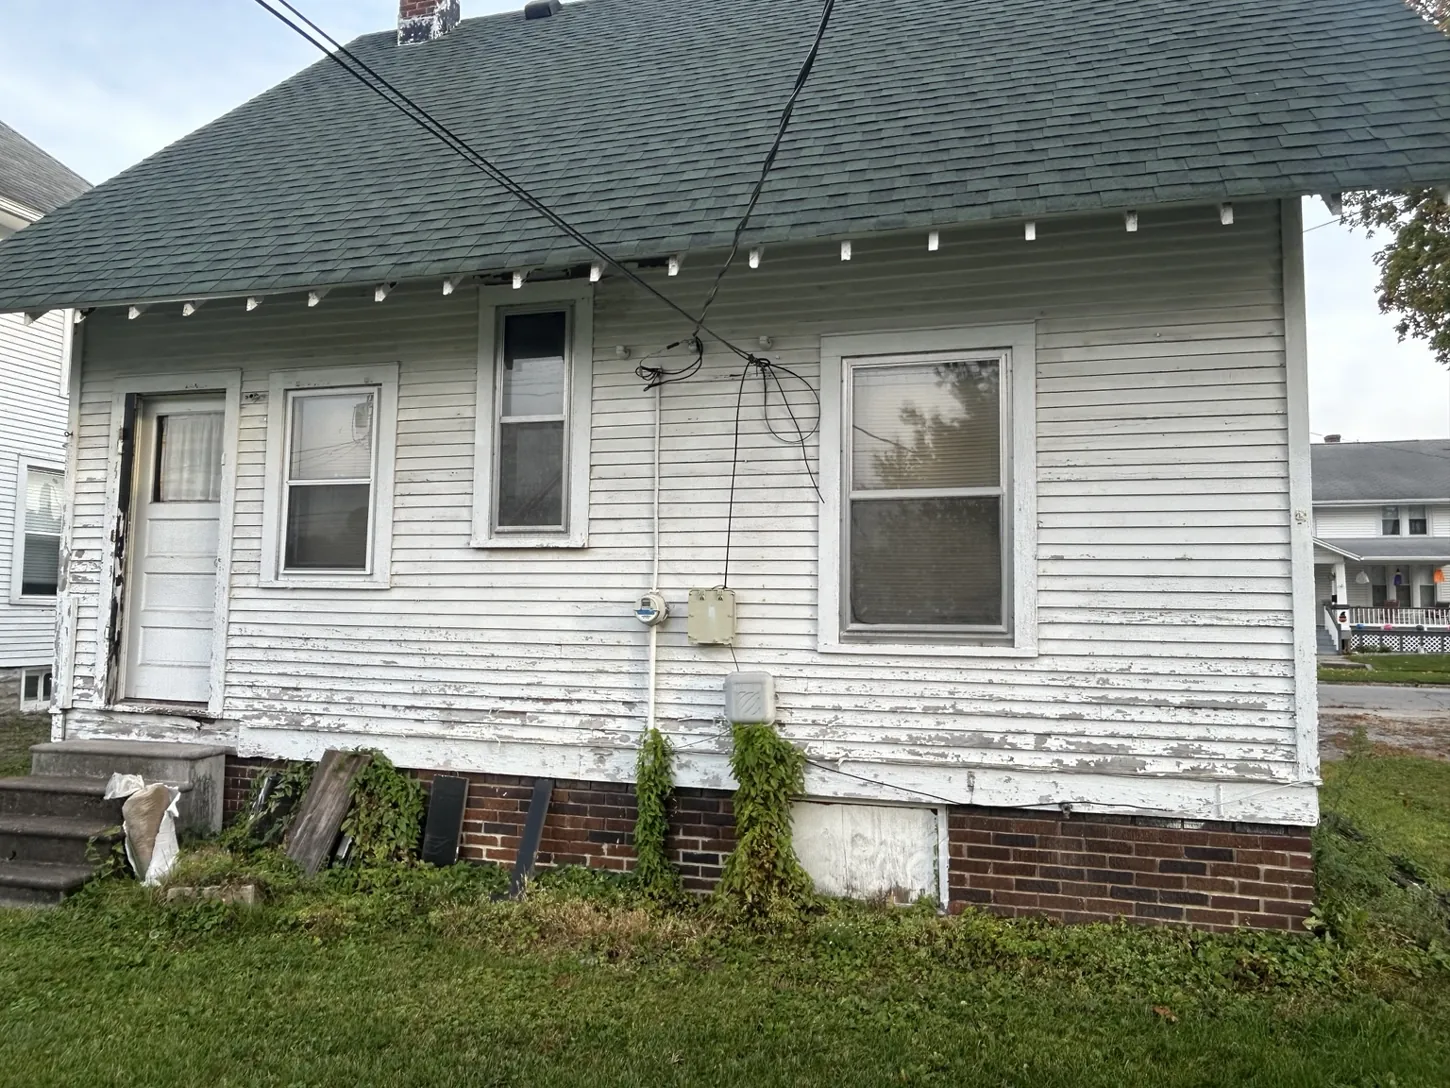
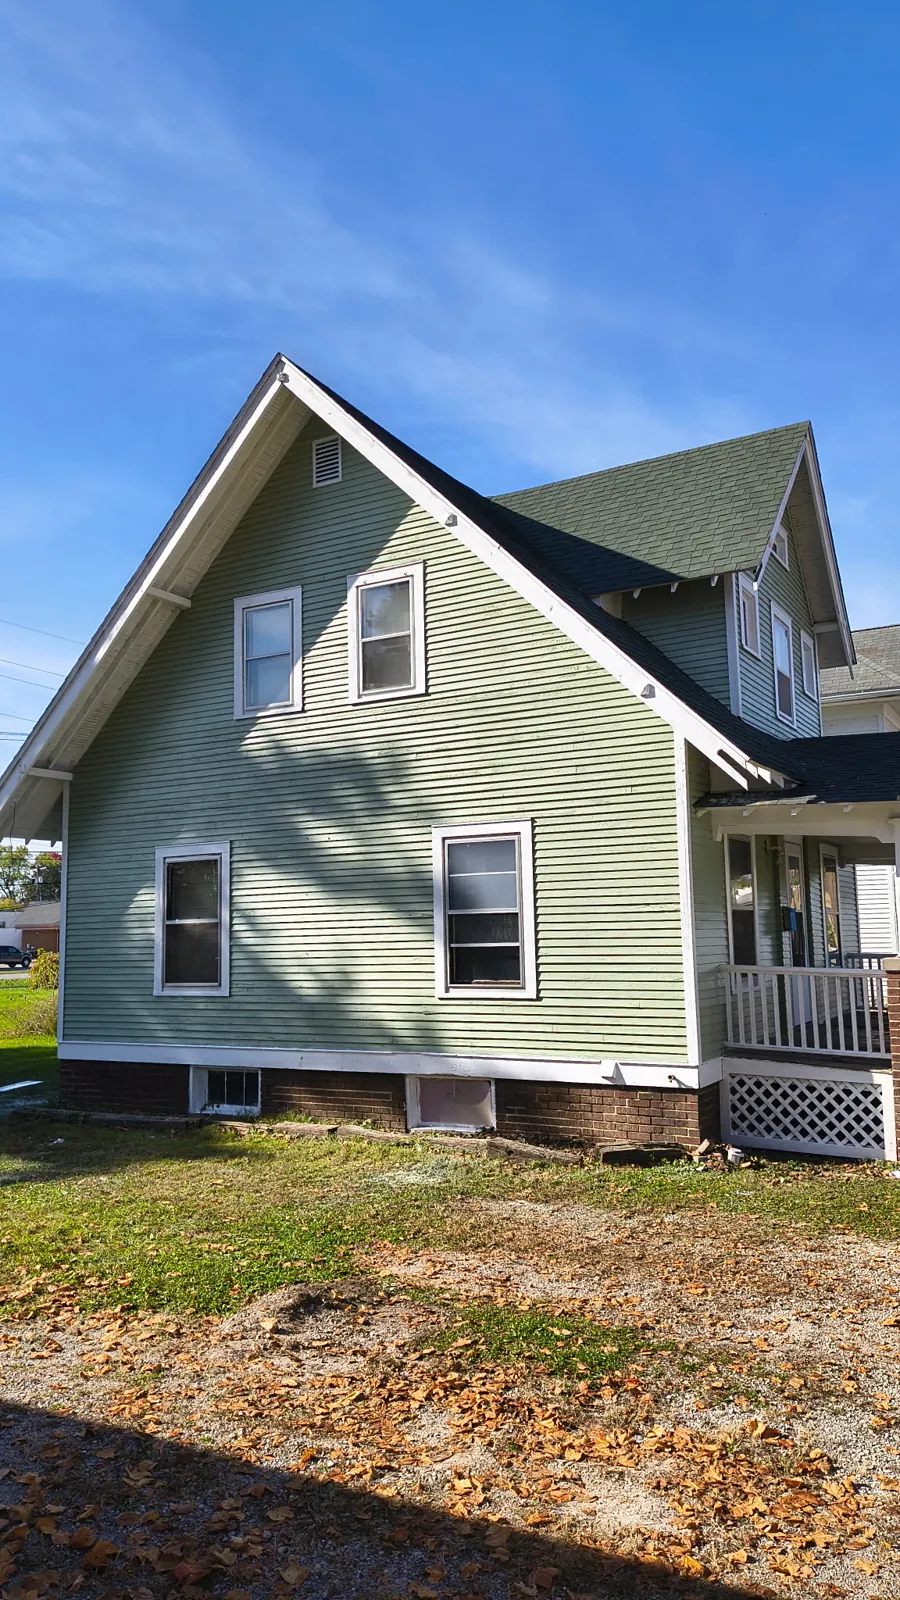
Exterior painting · Before & after

A new color. A completely different first impression.

The same home, photographed before and after an exterior repaint. Muted green siding and white trim give the original details a fresh look.
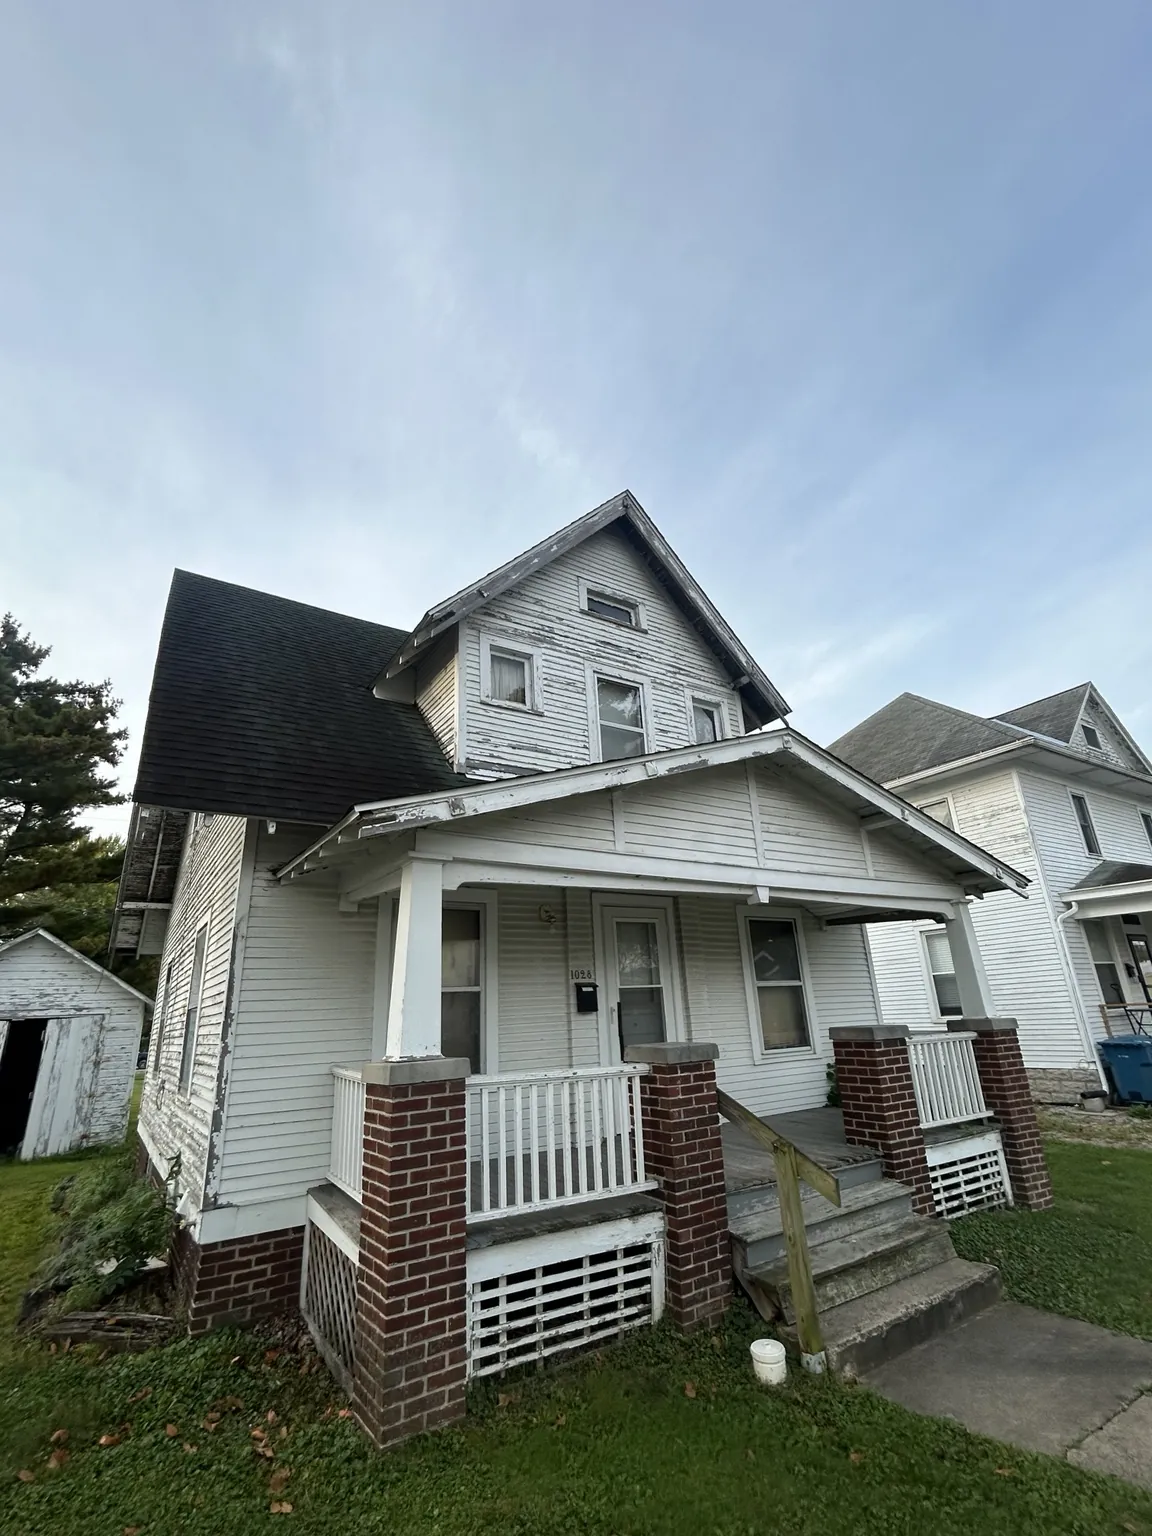
Front of home with weathered white siding before repaintingBefore
Same home repainted green with white trim, front viewAfter
Weathered white siding along the side of the houseBefore · Side view
Green siding and white trim on the side of the same houseAfter · Side view
One room · Four stages

From open walls to a finished feature.

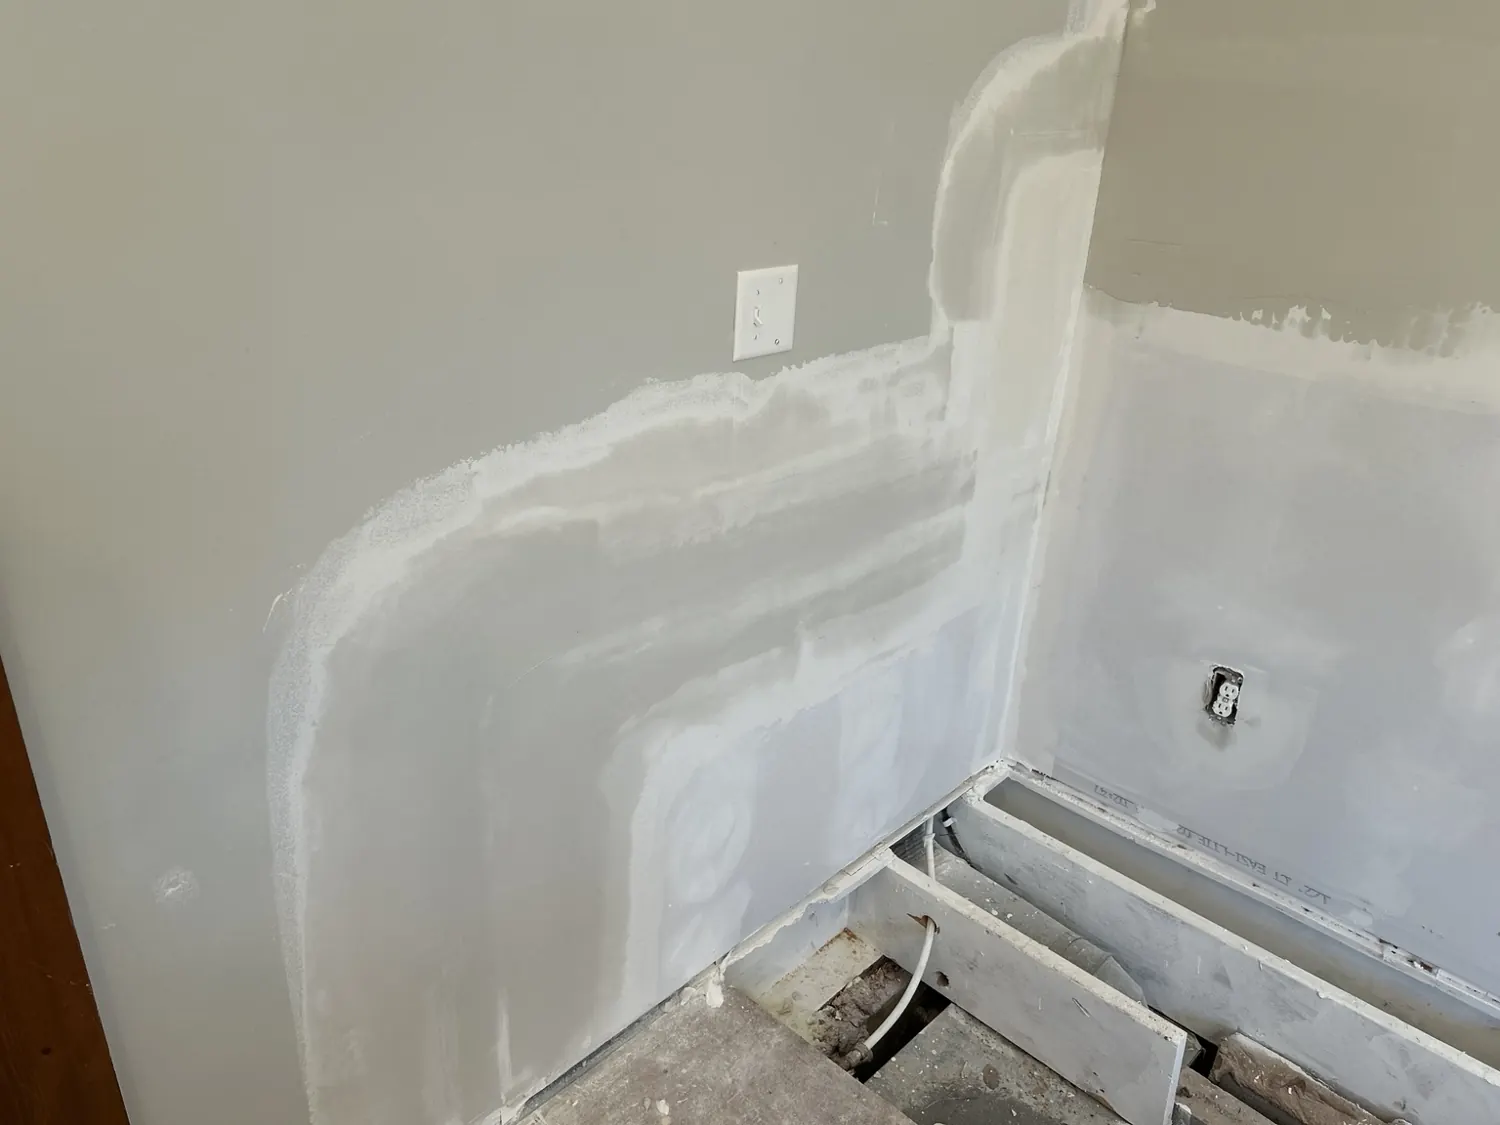
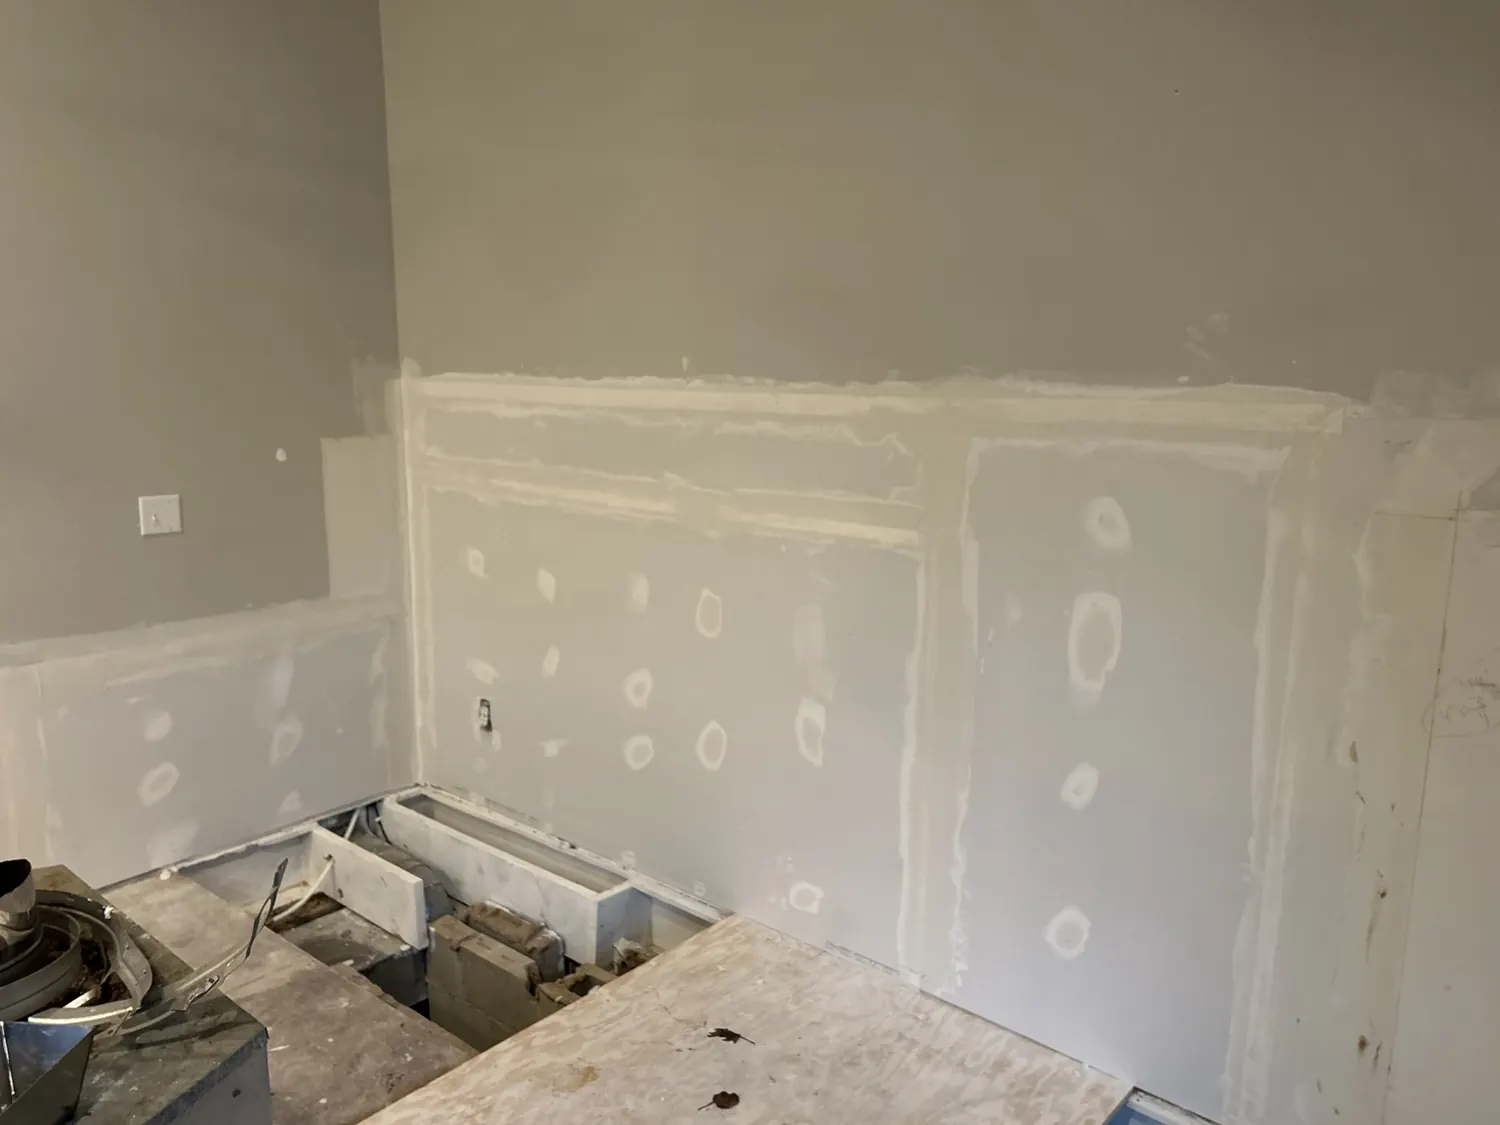
These photographs follow the same room through opening the wall, installing drywall, finishing the joints, and the later accent-wall and flooring update.
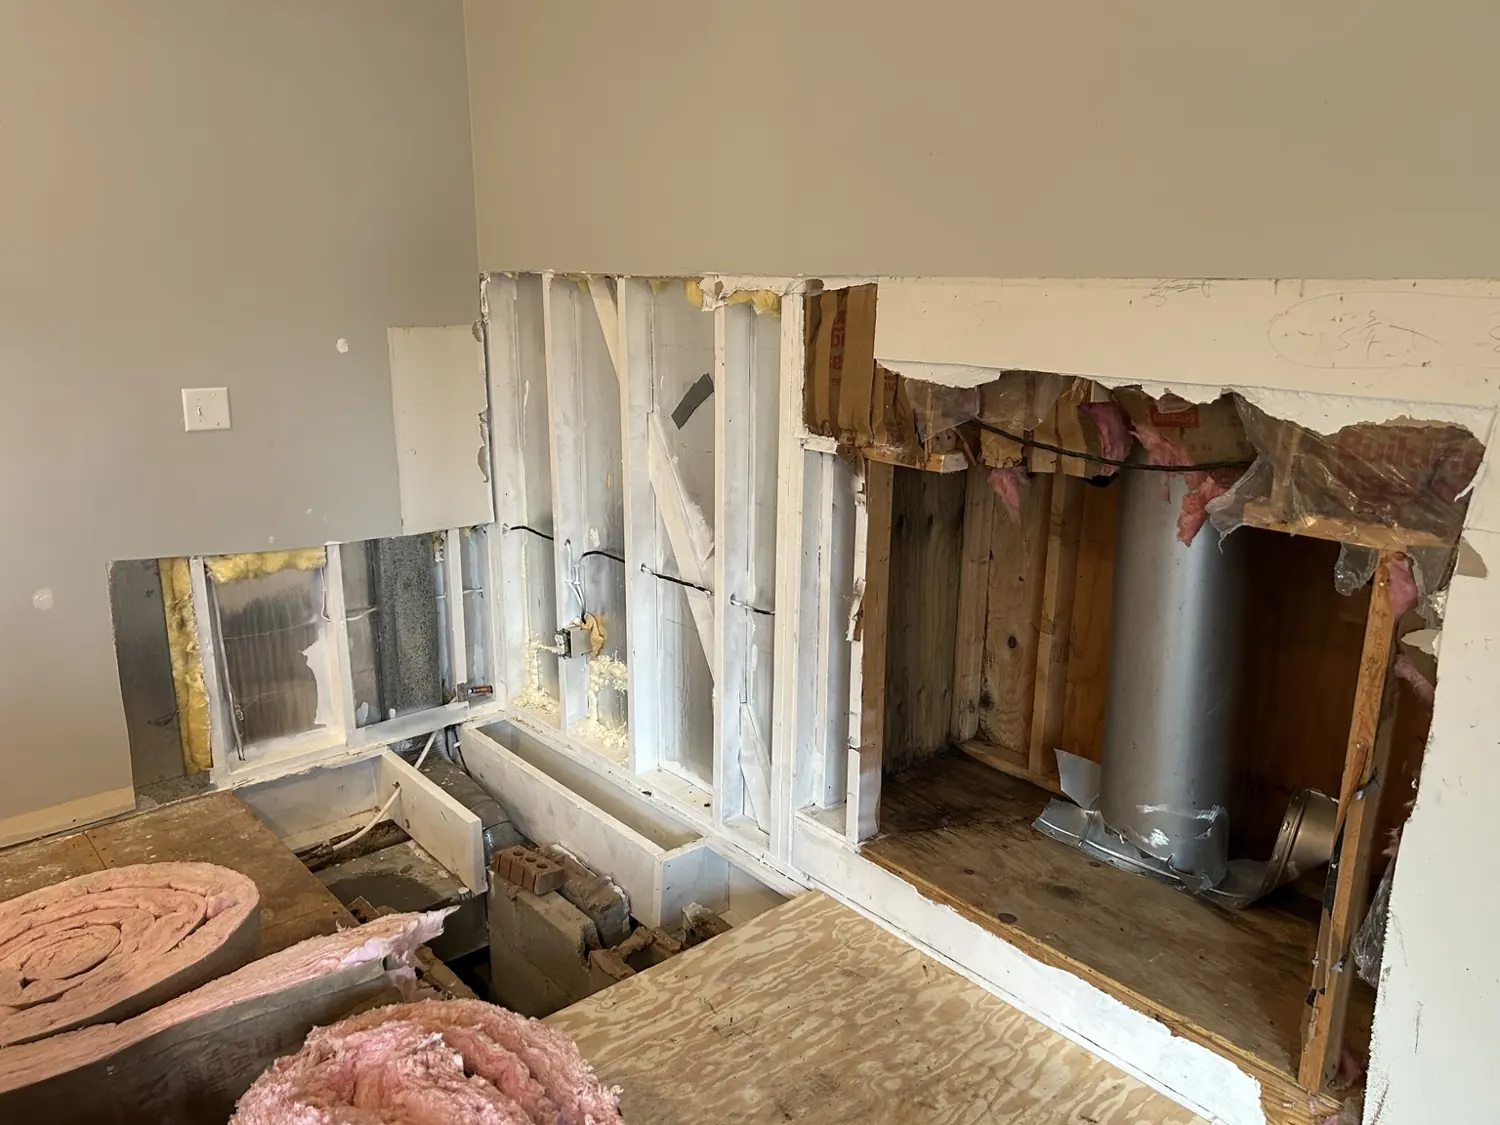
Wall opened
01 · During renovationWall openedFraming exposed for interior changes.
Panels installed
02 · DrywallPanels installedNew drywall and taped seams.
Joints finished
03 · Surface preparationJoints finishedCompound work ahead of the final surface.
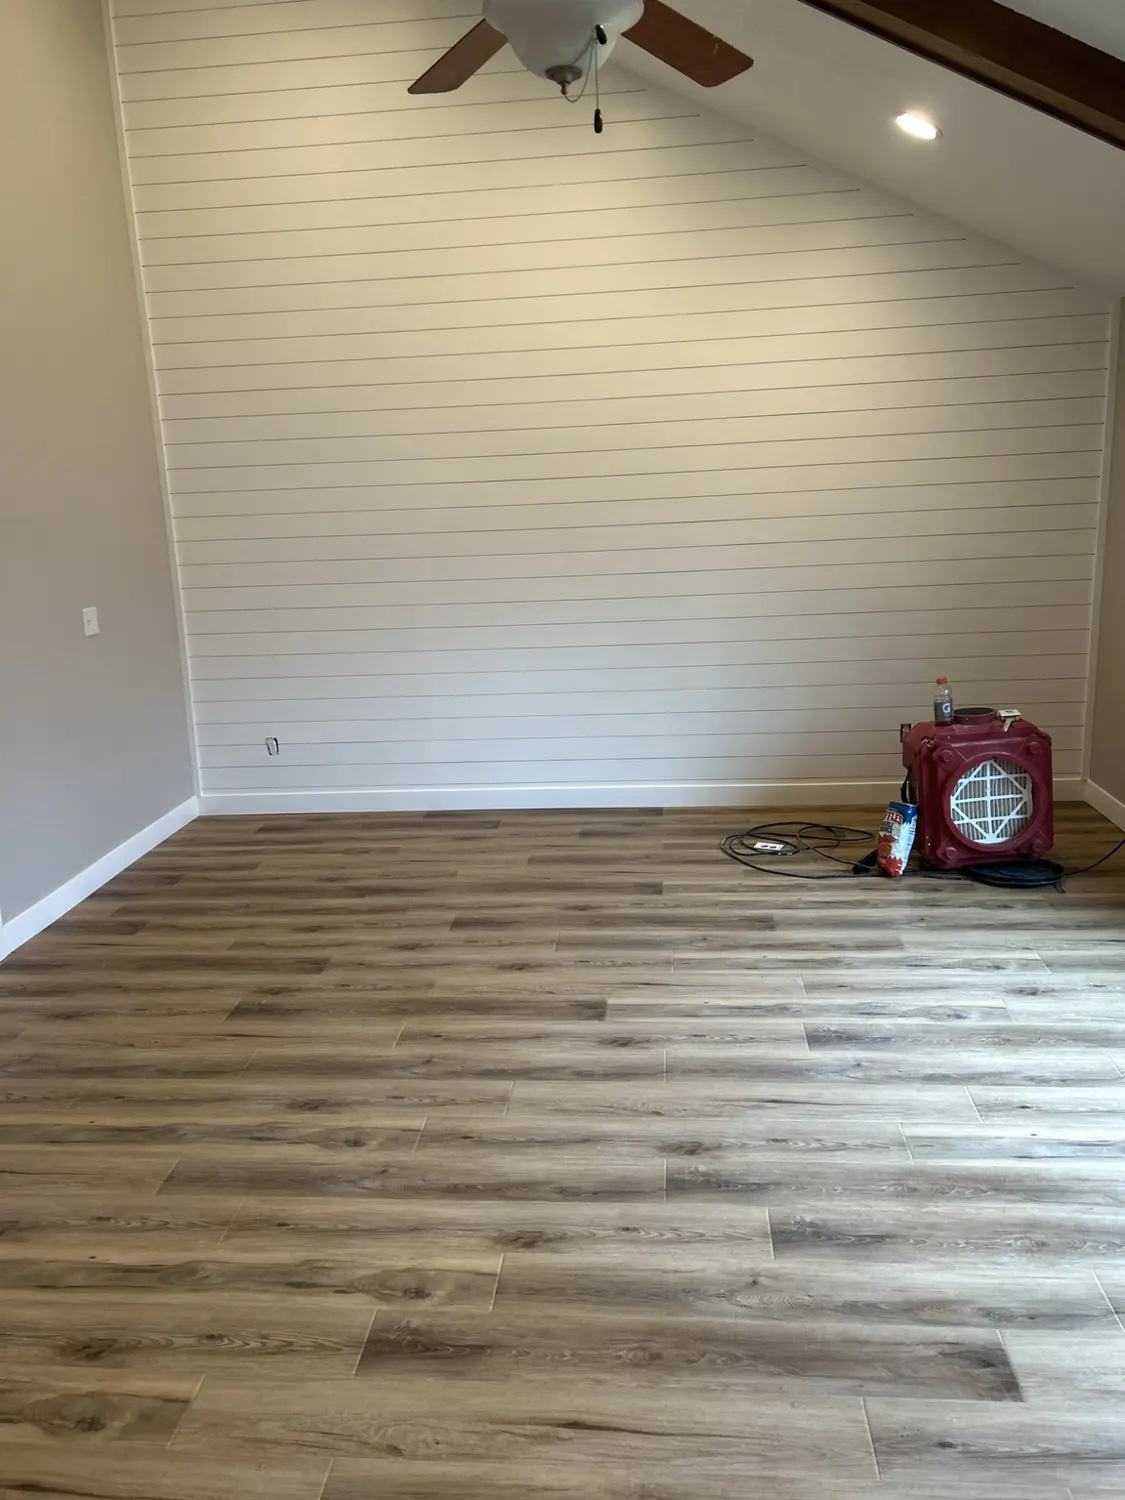
Feature wall & flooring
04 · Later stageFeature wall & flooringWhite horizontal wall detail paired with warm flooring.
Interior results

Floors, finishes, and rooms ready for the next chapter.

Color, flooring and trim make the biggest difference when they feel like one space. Here are a few of the completed looks.
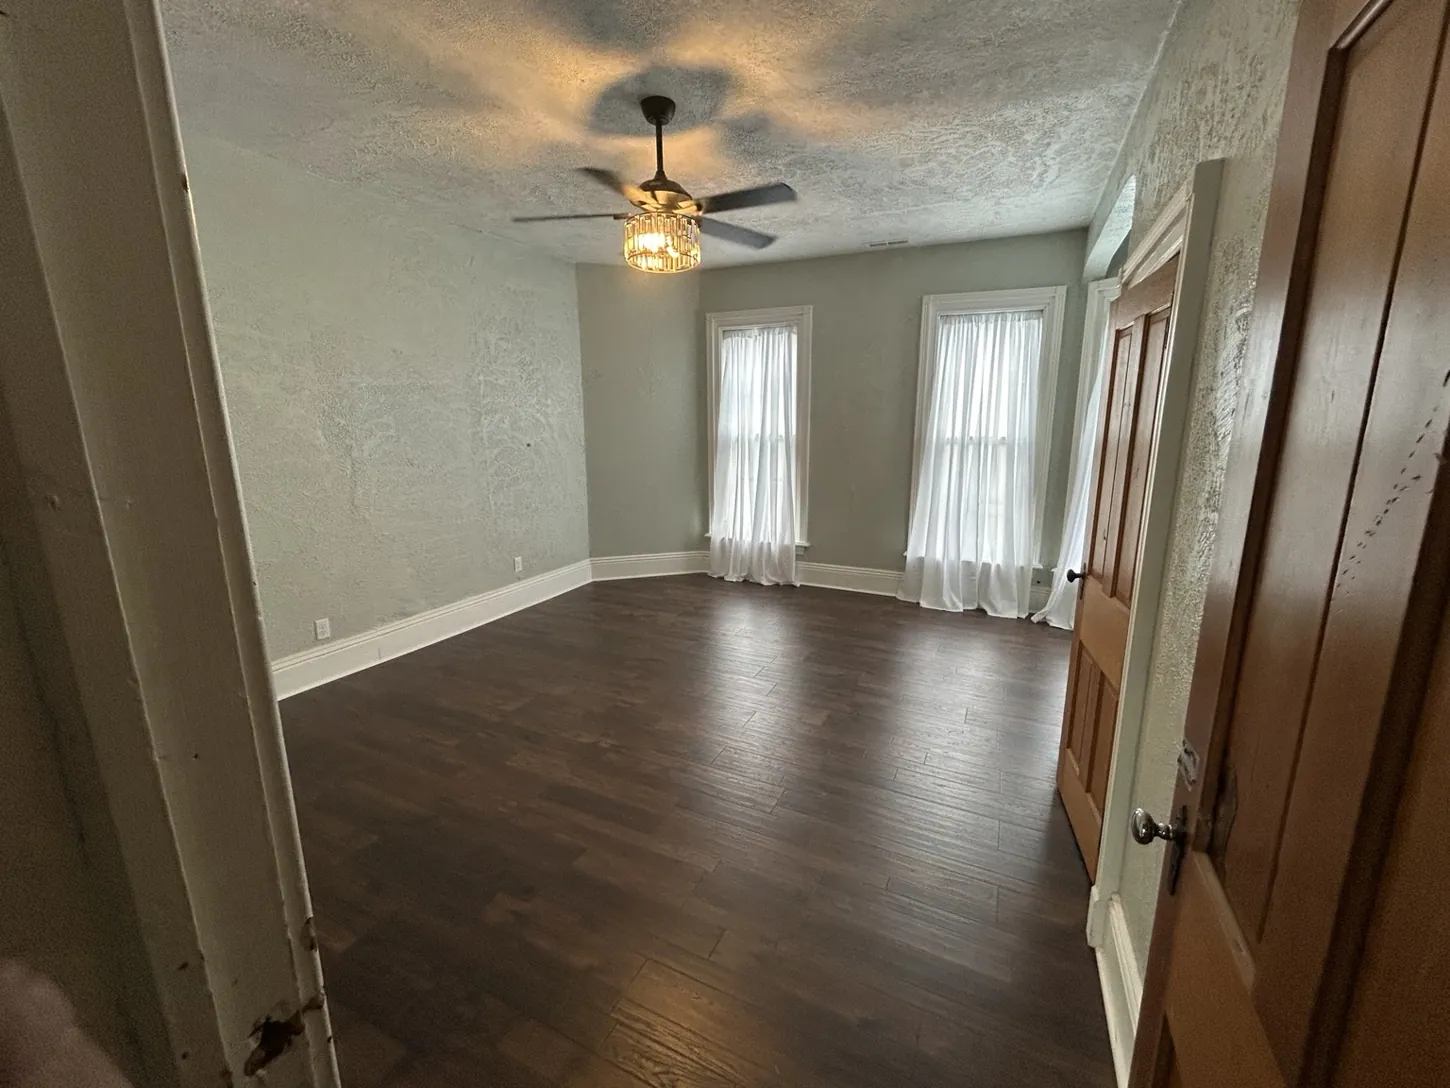
Warm walls. Rich flooring.
Residential interiorWarm walls. Rich flooring.
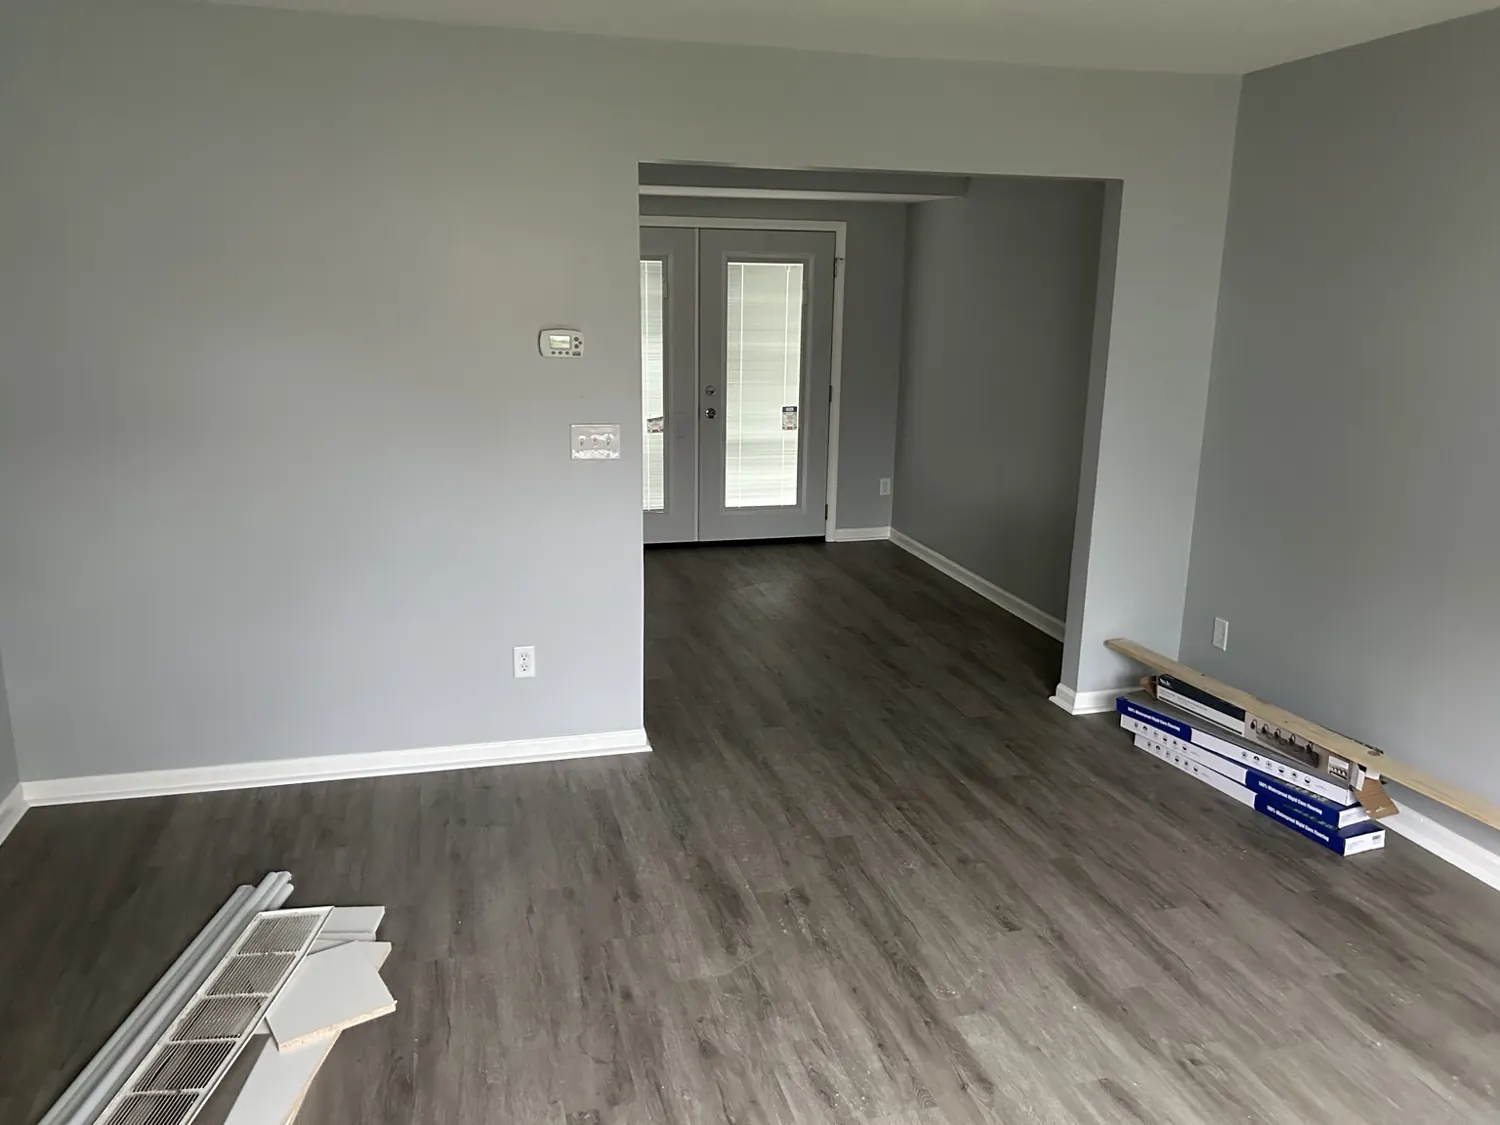
A consistent finish between rooms.
Flooring & paintA consistent finish between rooms.
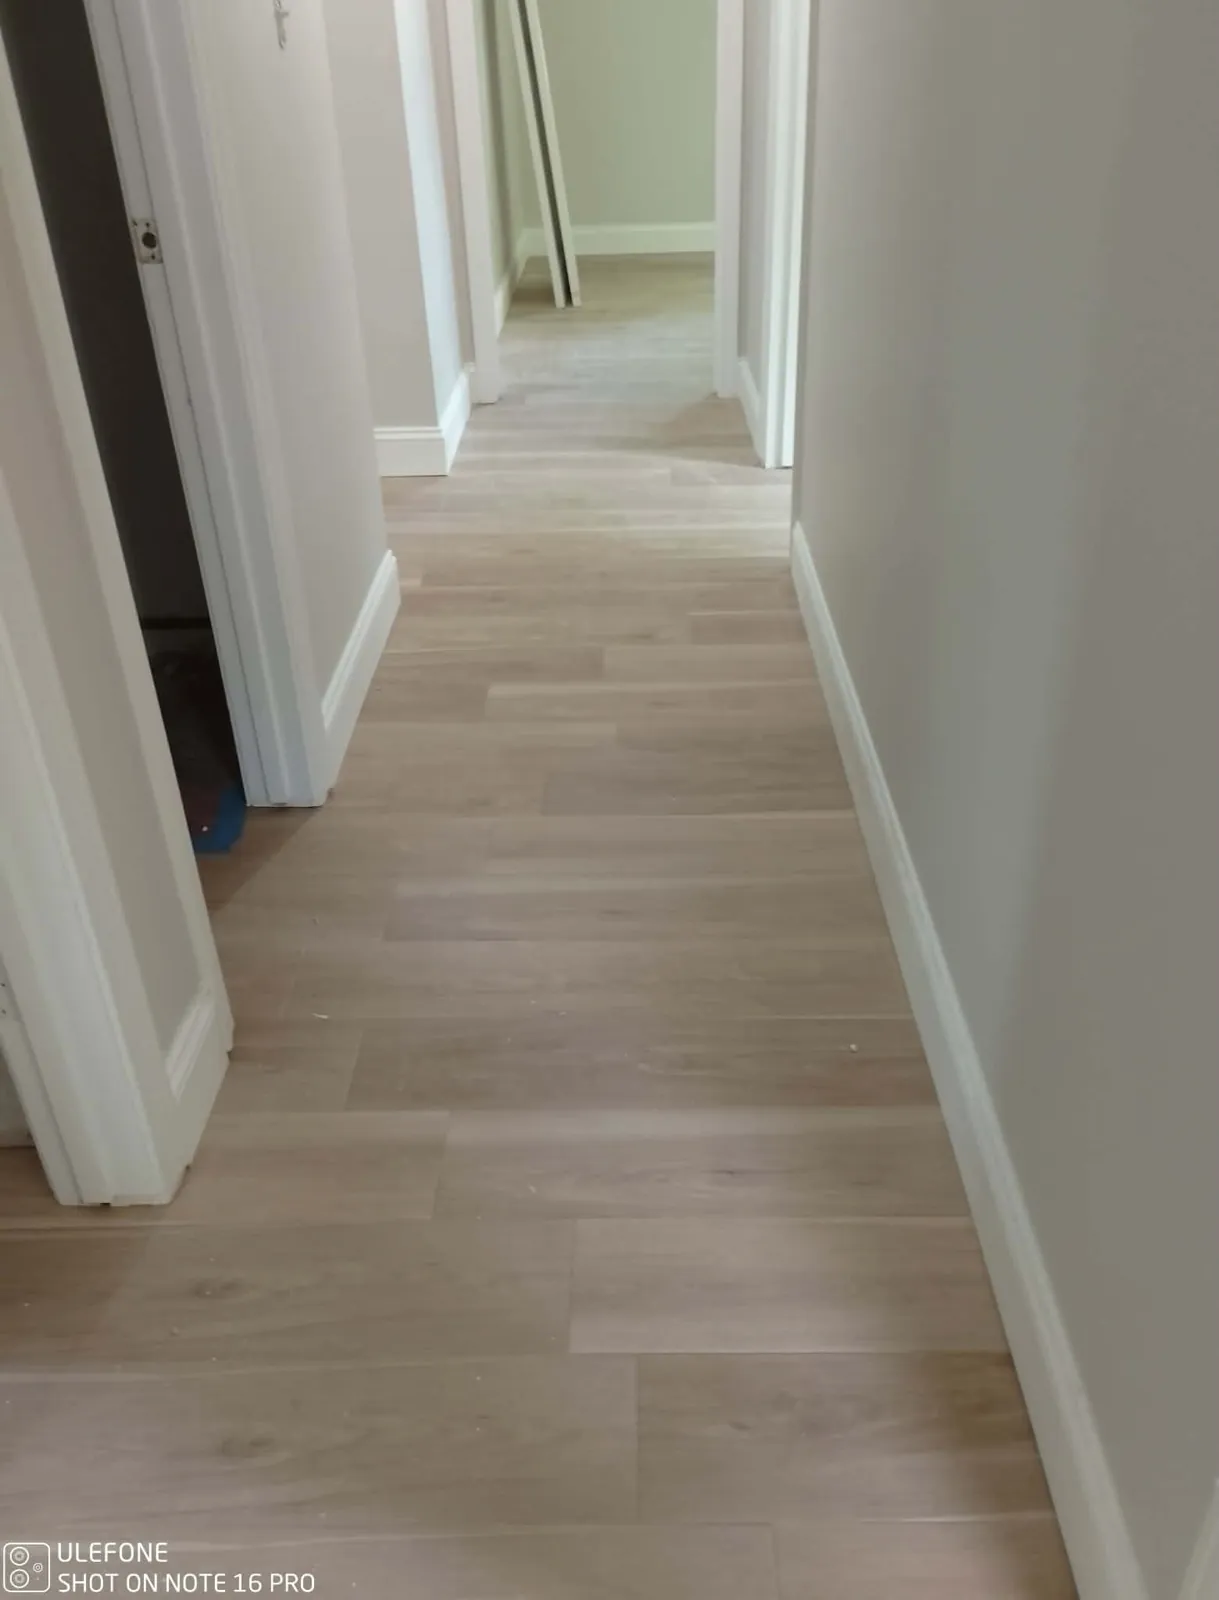
Light floors, bright hallways.
Flooring & trimLight floors, bright hallways.
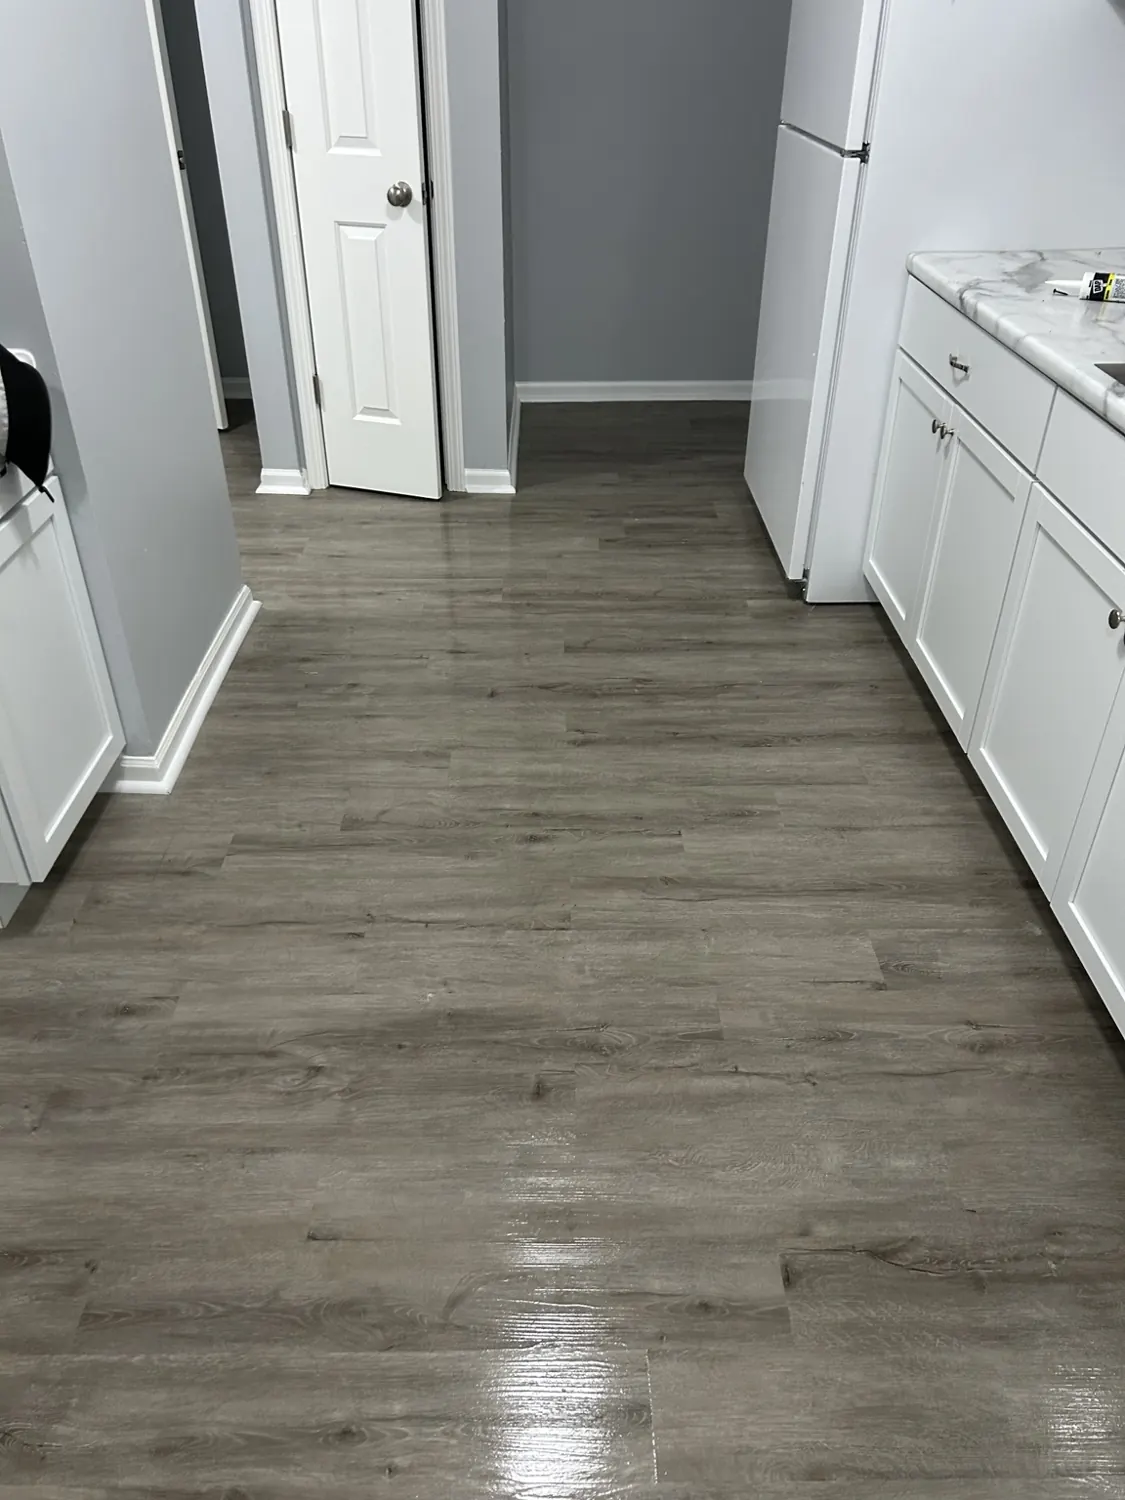
Gray plank flooring with white cabinetry.
Kitchen flooringGray plank flooring with white cabinetry.
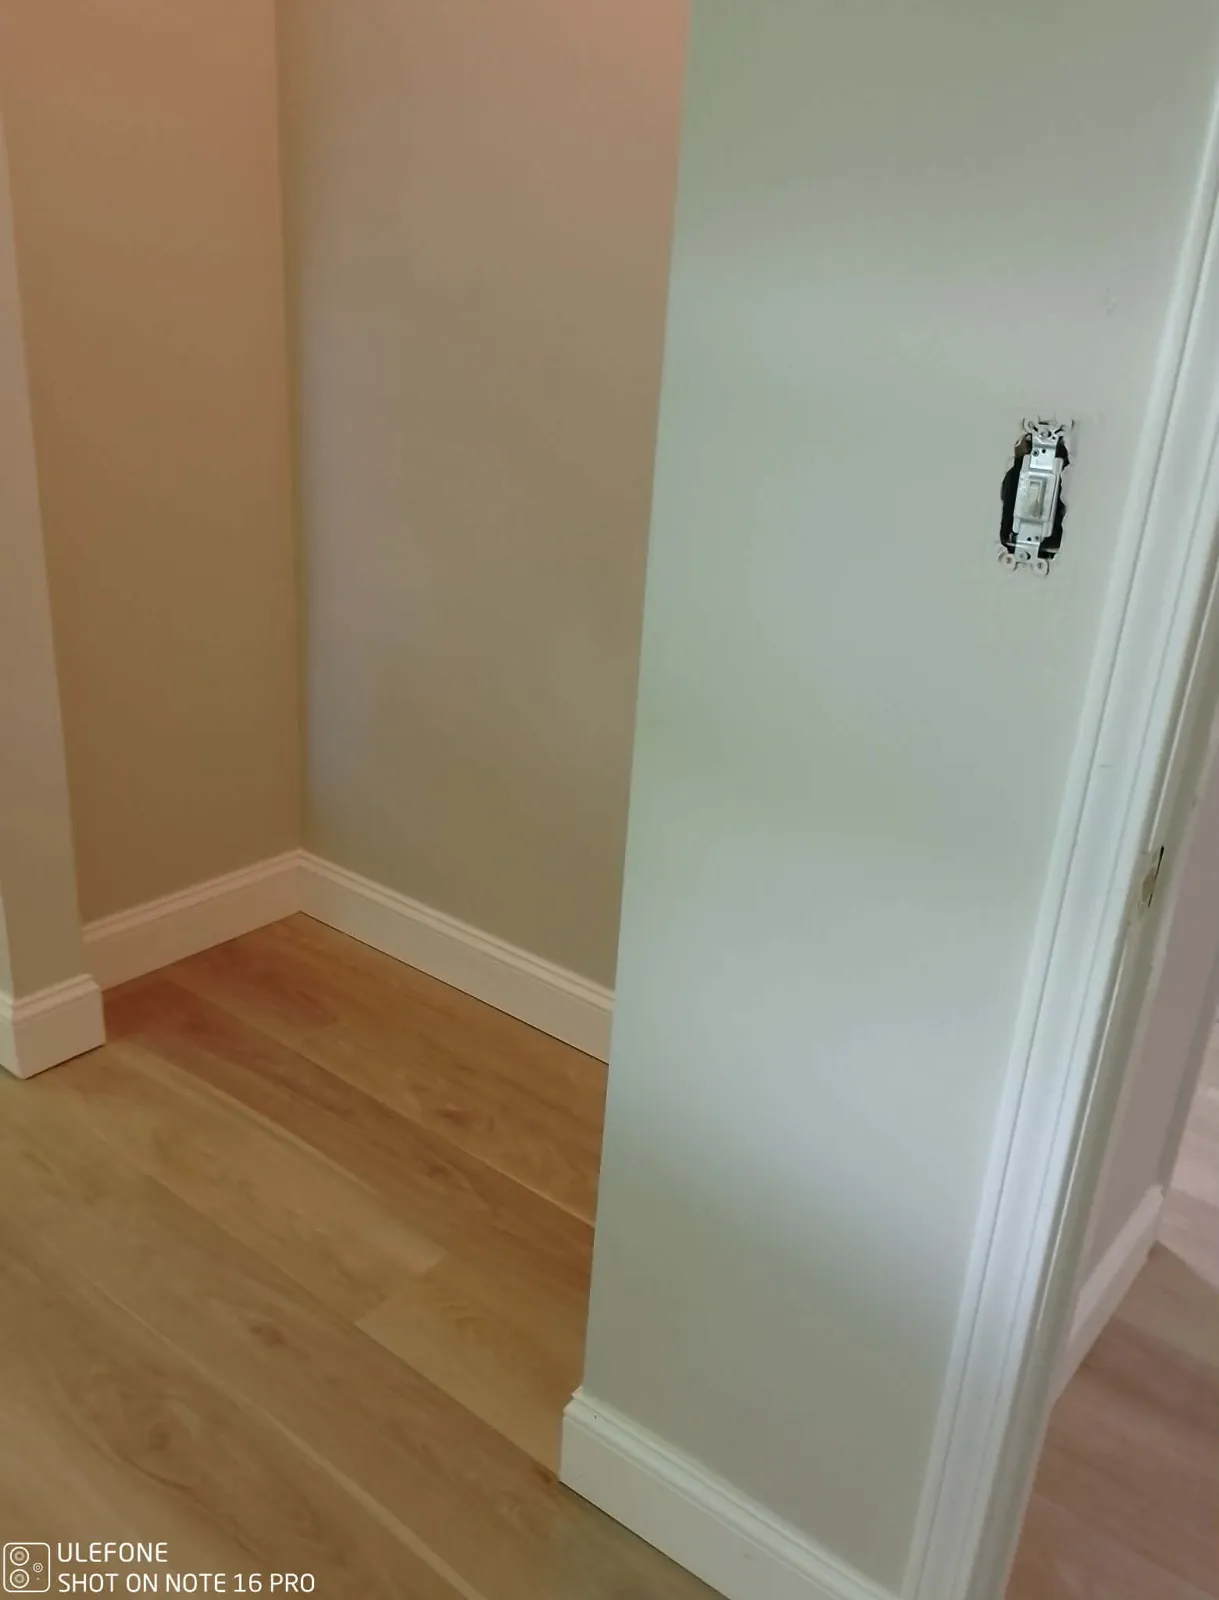
Baseboard and flooring, together.
Finish detailBaseboard and flooring, together.
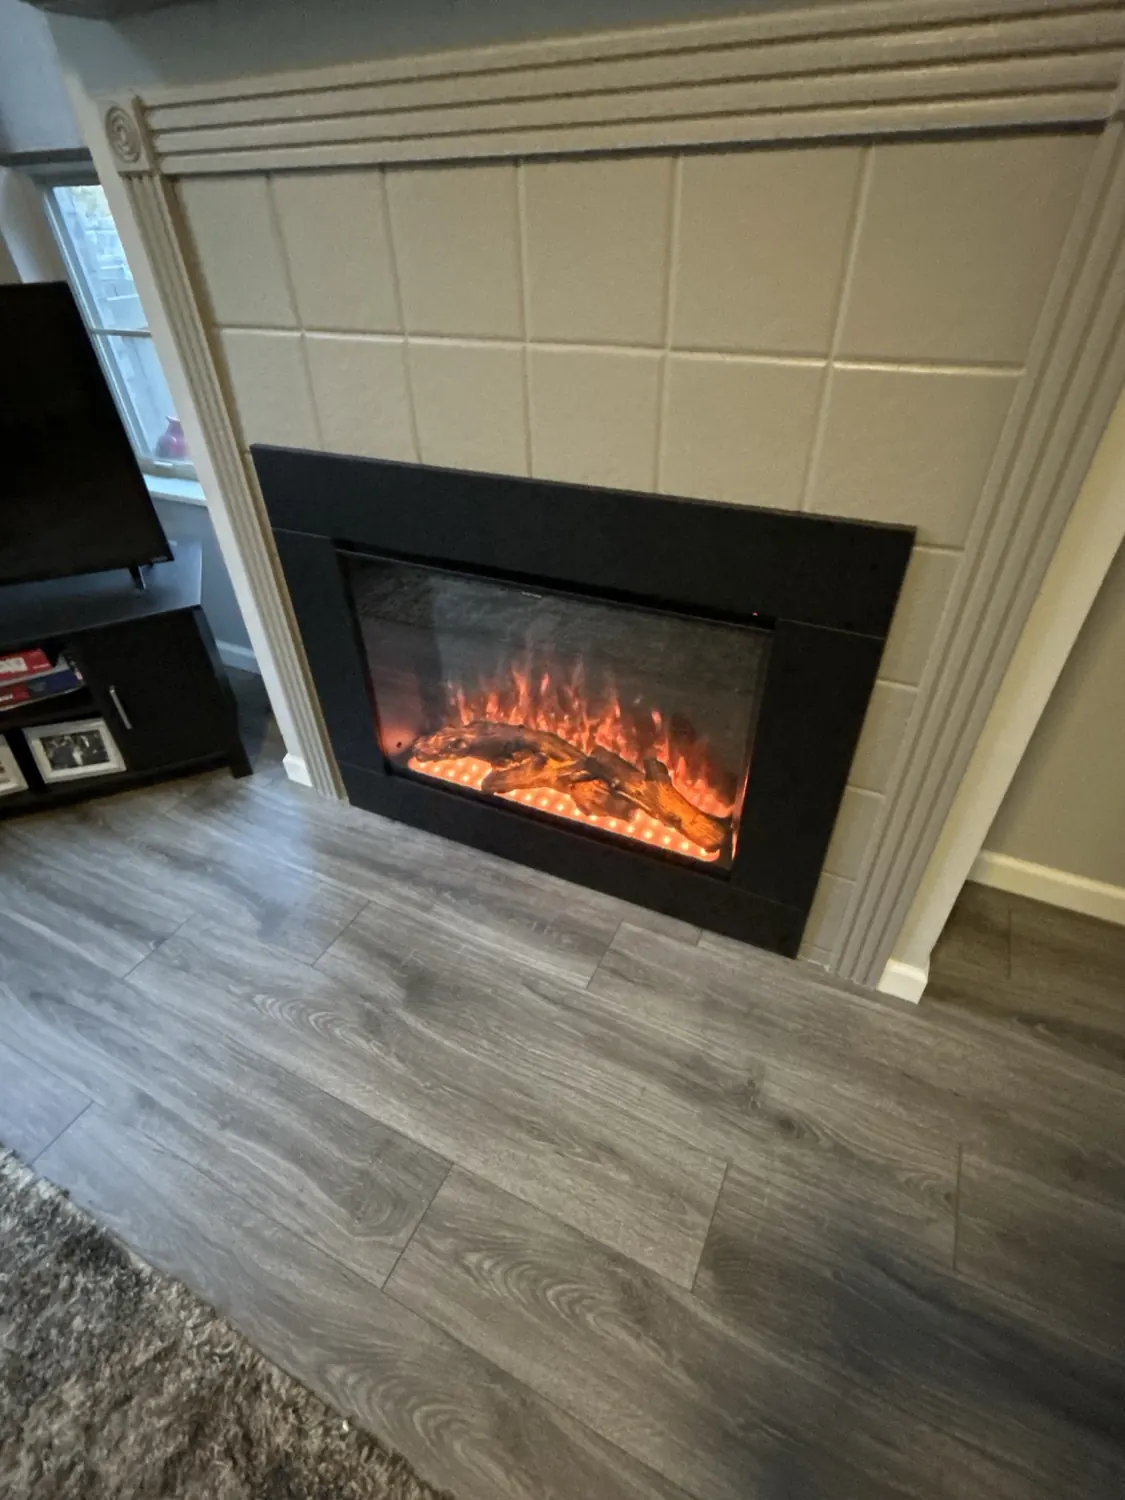
An updated electric fireplace insert.
Interior featureAn updated electric fireplace insert.
Bathroom update · Project stages

One bathroom, from demolition to a brighter room.

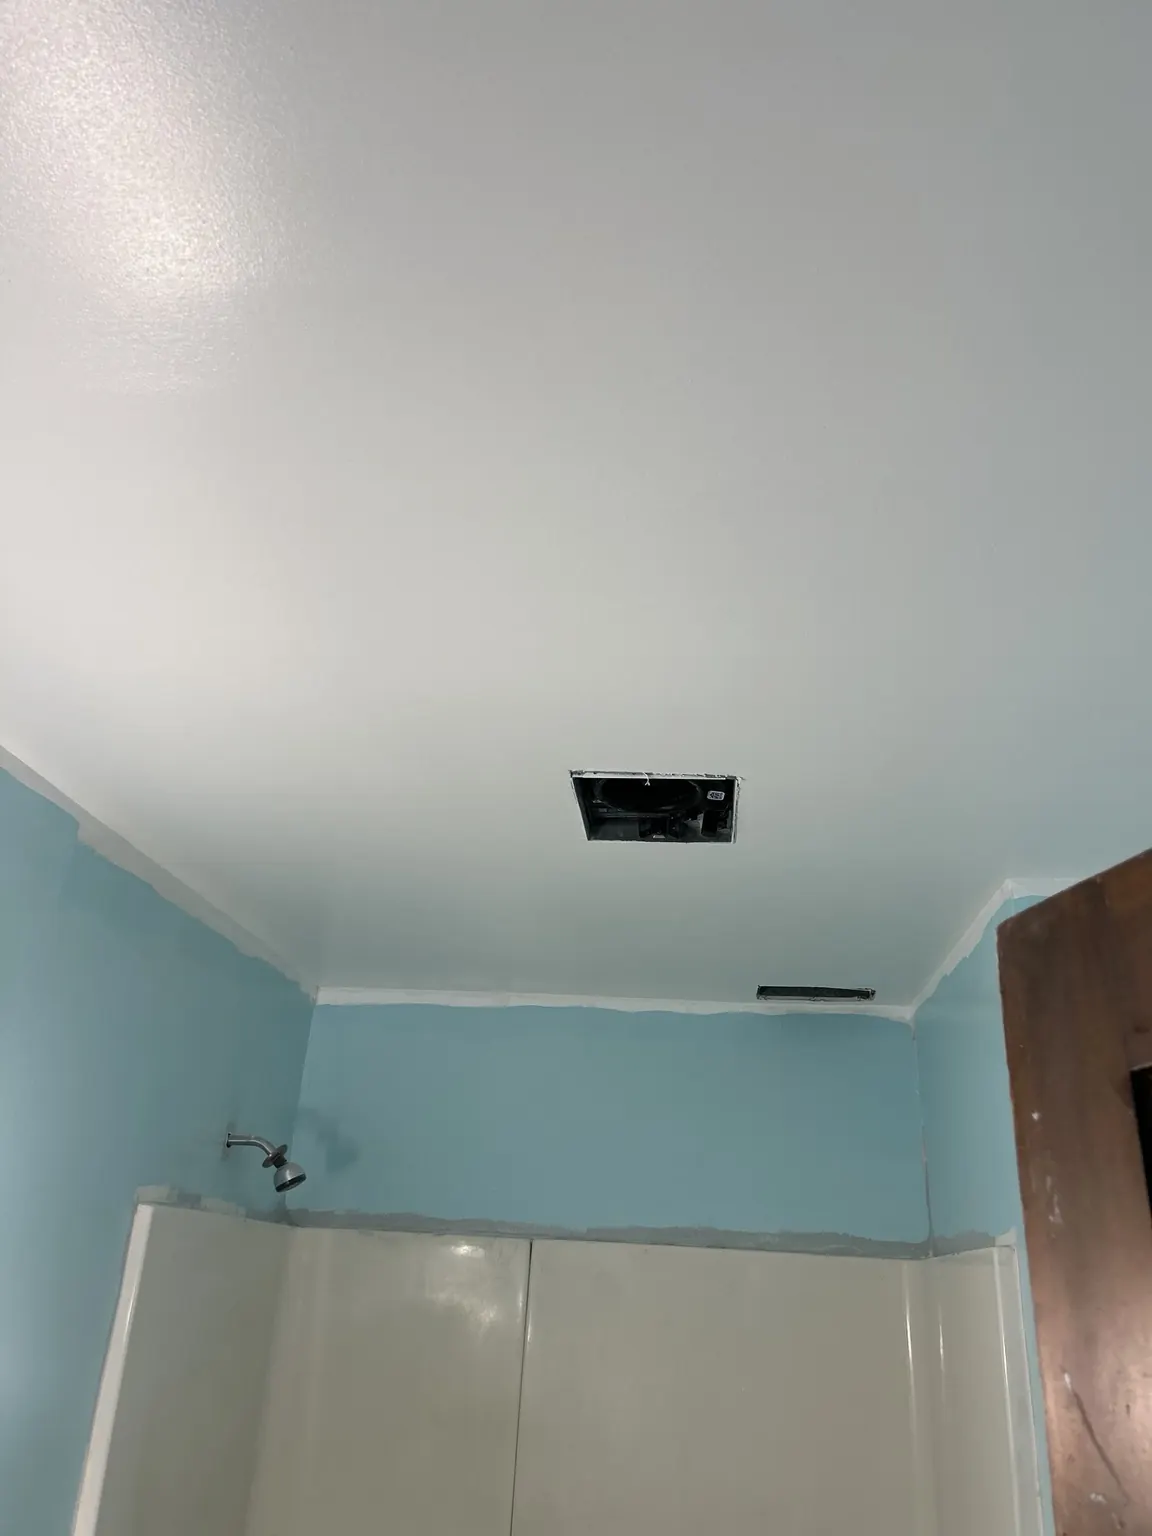
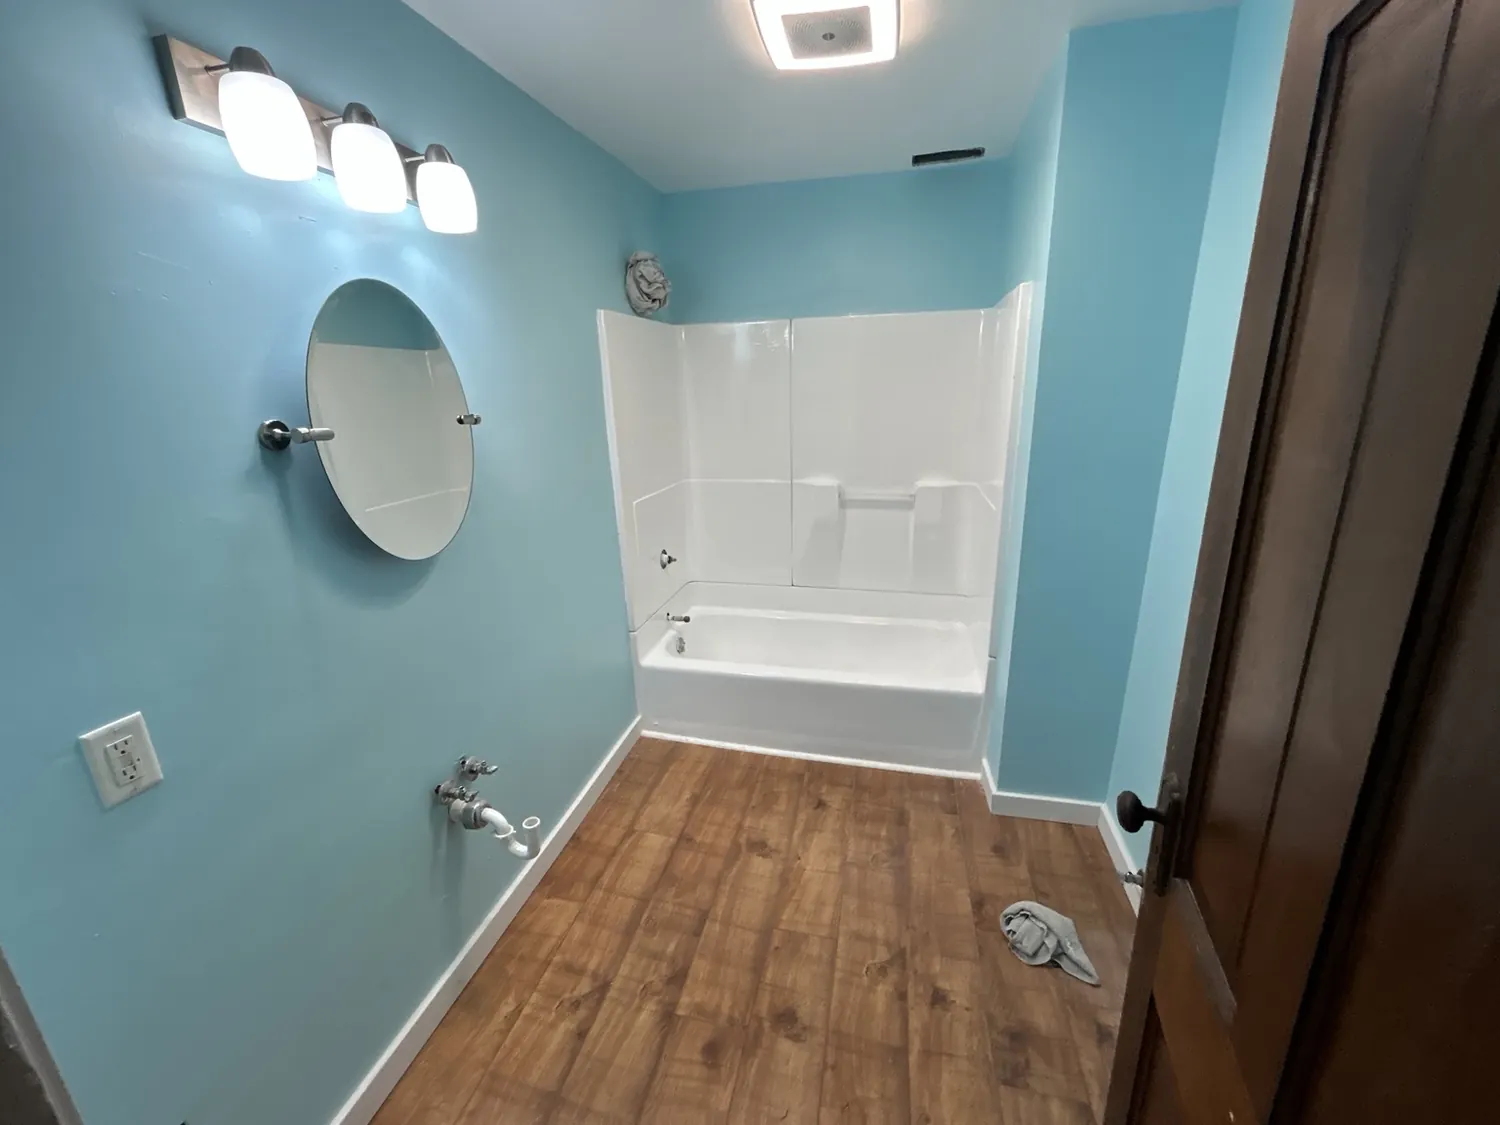
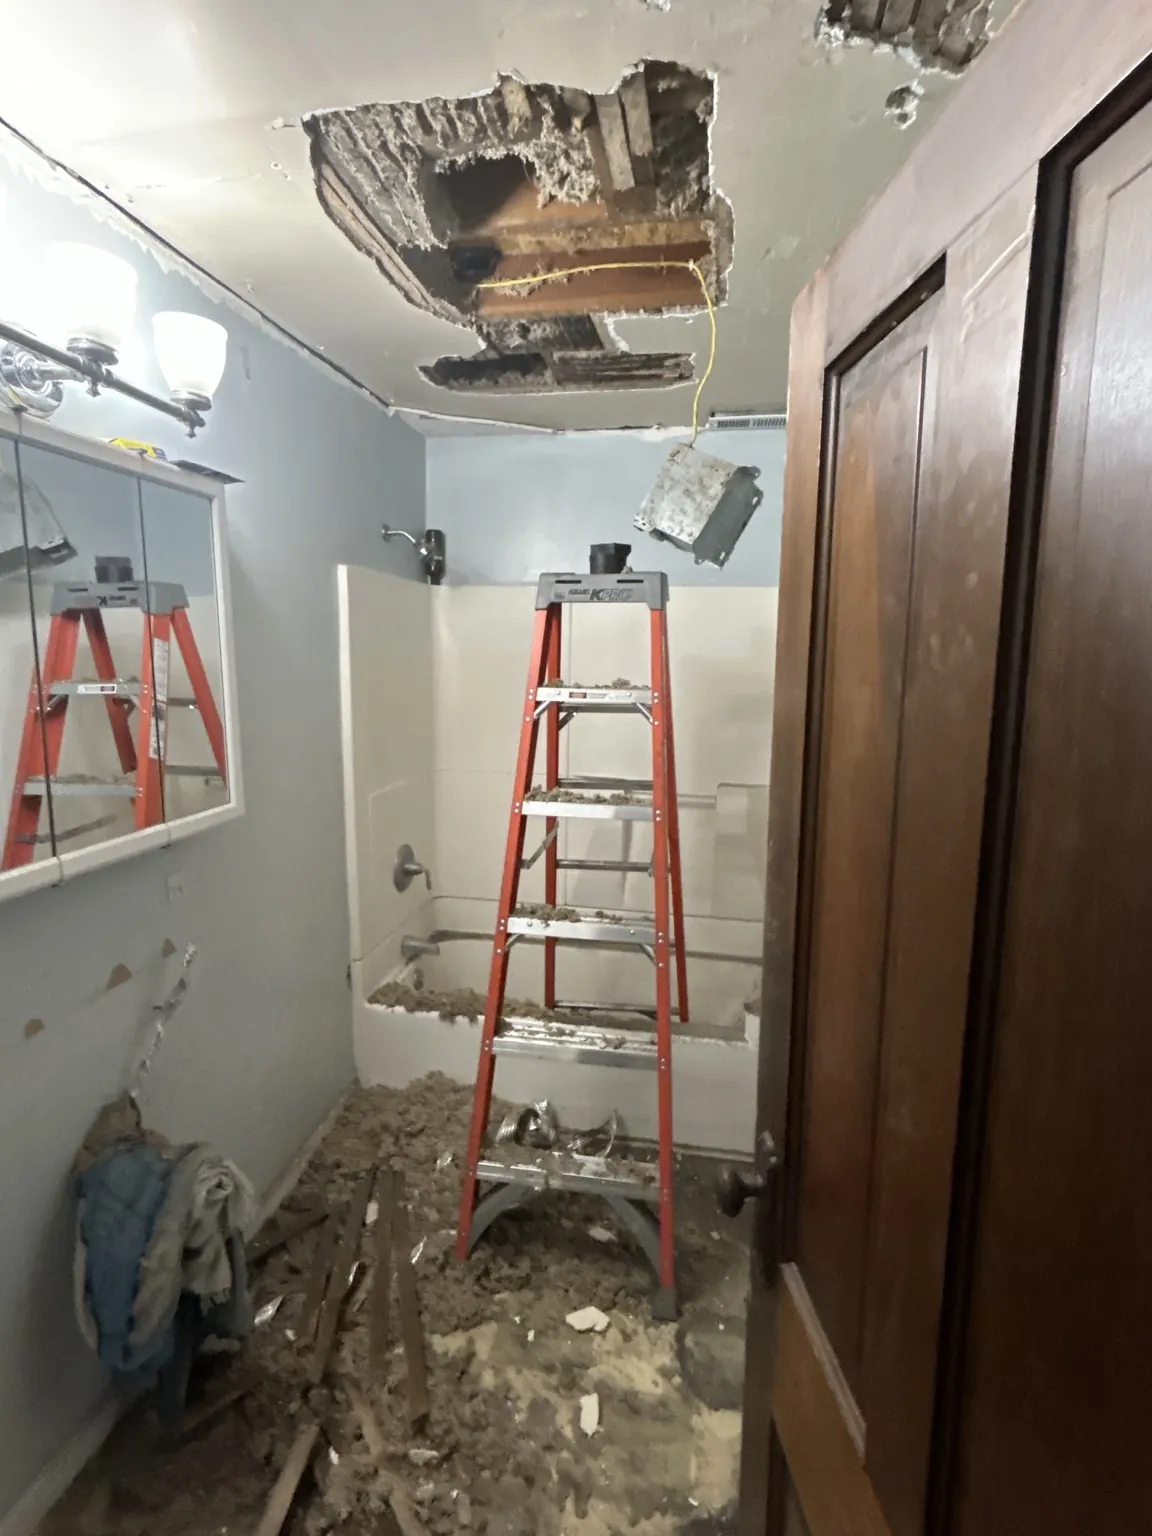
The original checkerboard floor and textured ceiling give way to ceiling repairs, wood-look flooring and brighter walls. These photos document different stages—not separate projects.
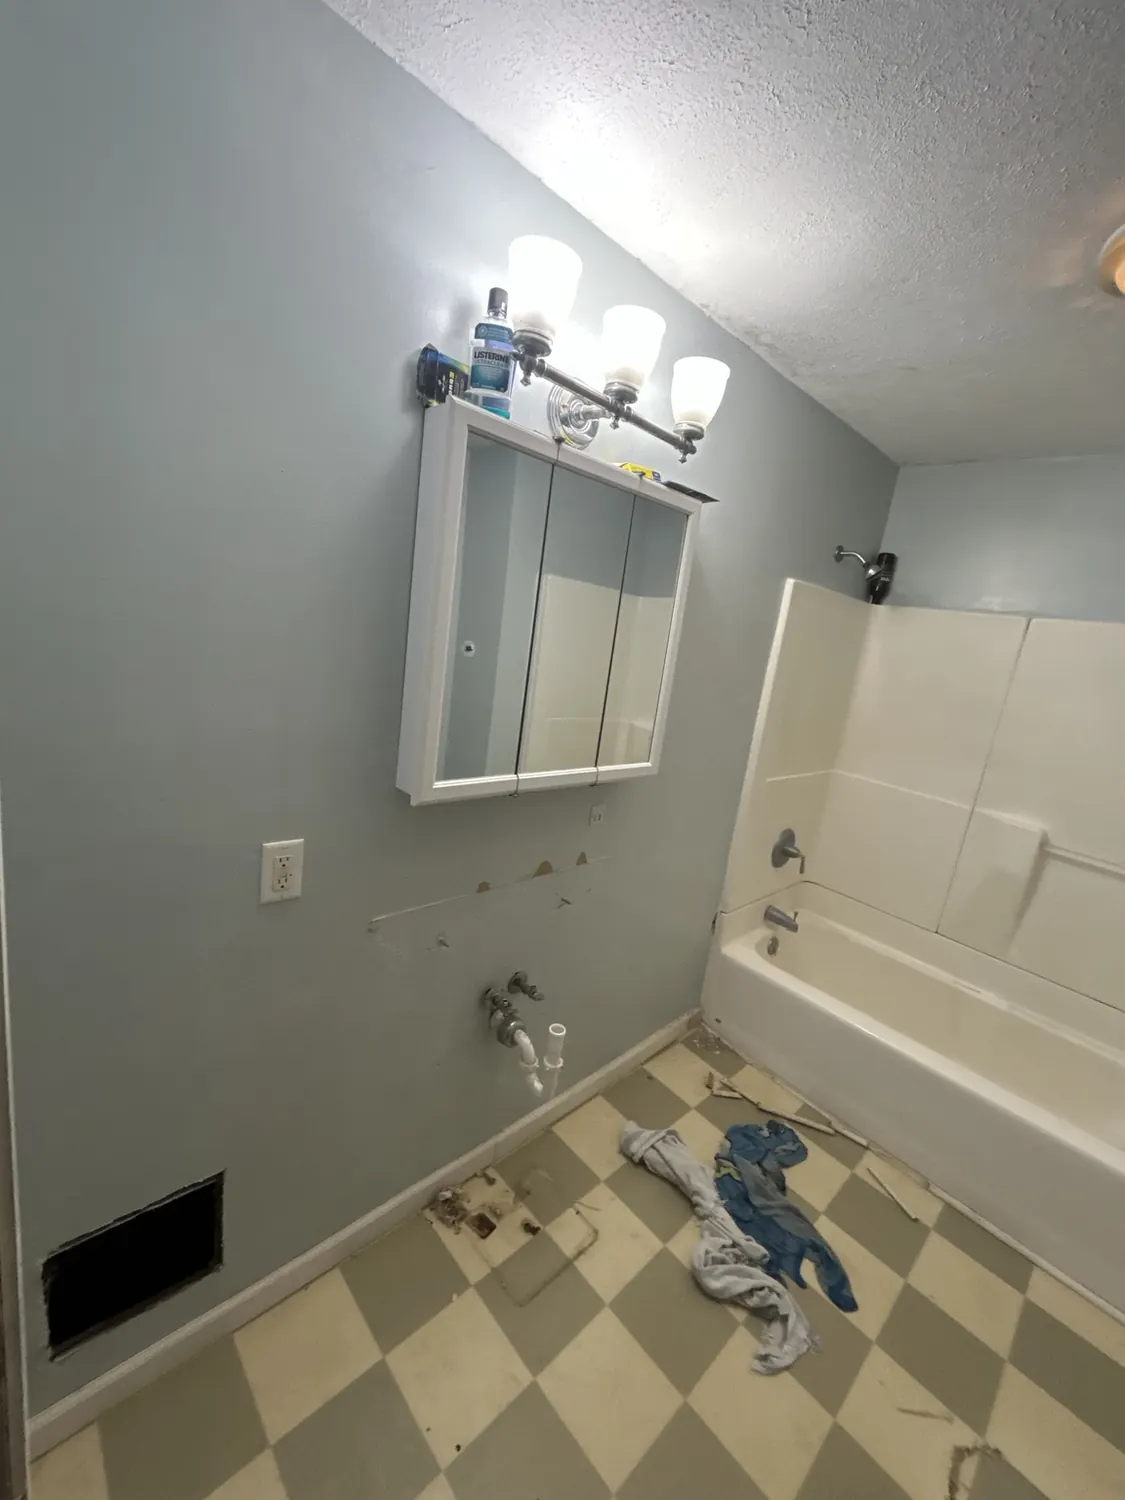
Original bathroom
01 · BeforeOriginal bathroomCheckerboard floor and existing fixtures.
Ceiling opened
02 · DuringCeiling openedDamaged areas exposed for repair.
New ceiling surface
03 · Ceiling workNew ceiling surfaceSmooth ceiling preparation after repairs.
Walls & flooring refreshed
04 · Later stageWalls & flooring refreshedBlue walls, wood-look flooring and updated lighting.
A look at the process

Good finishes begin before the last plank goes down.

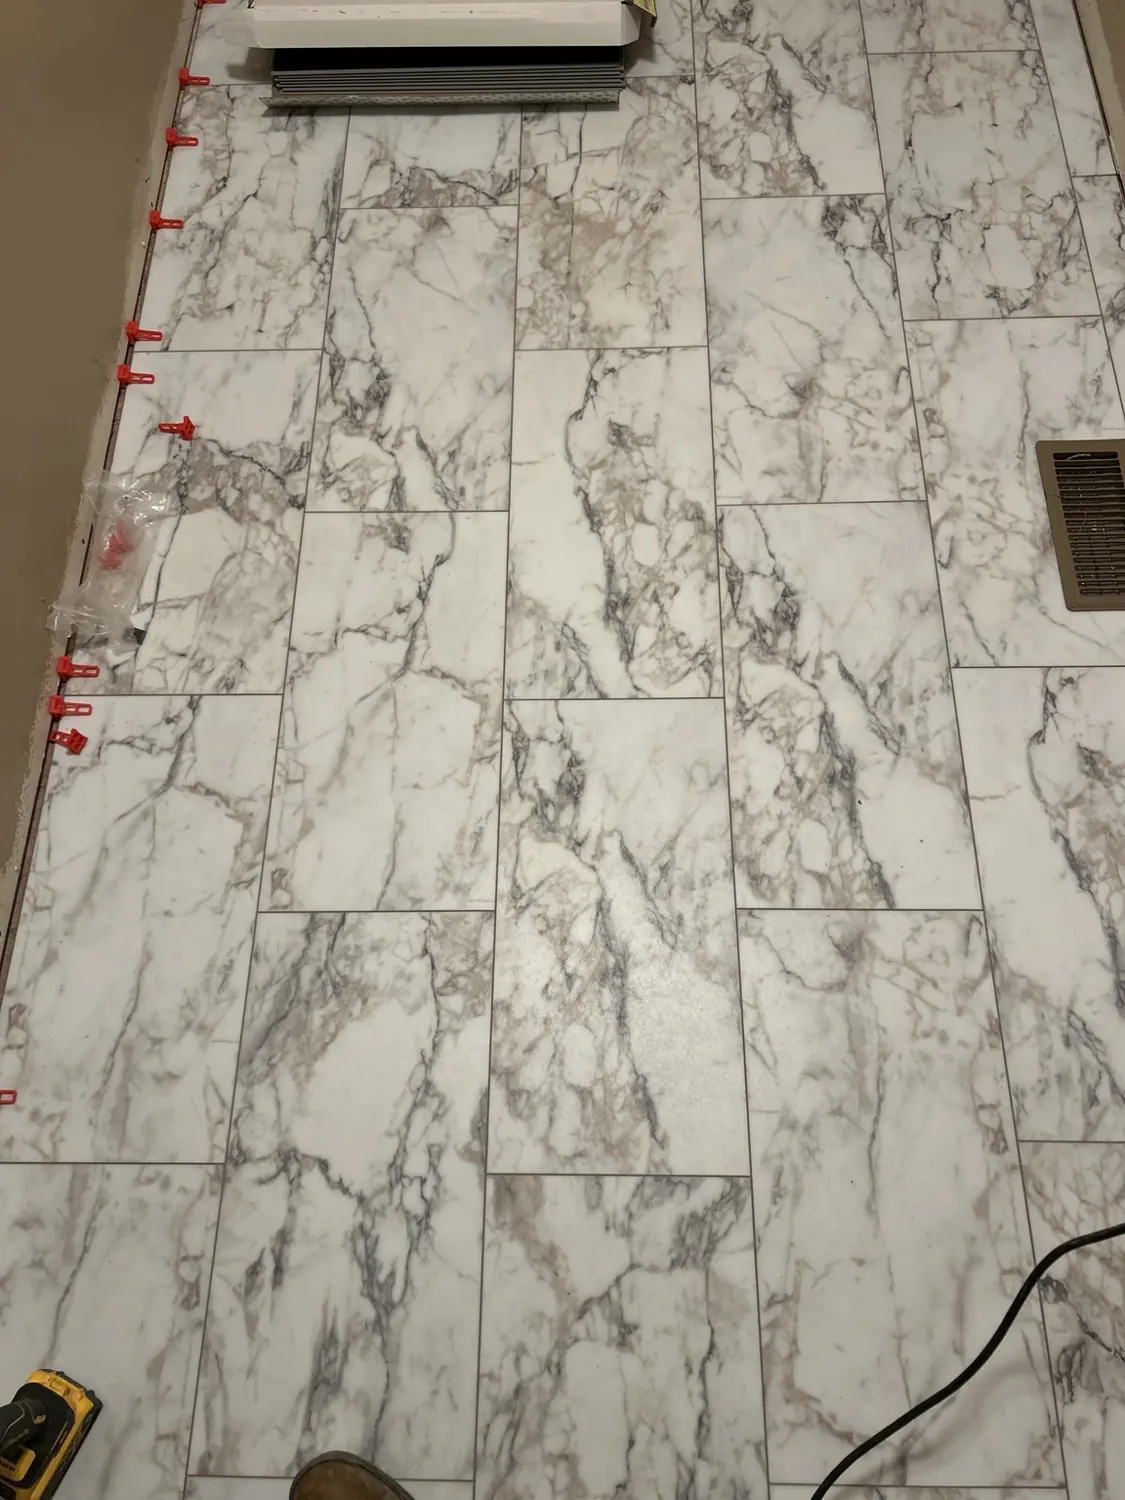
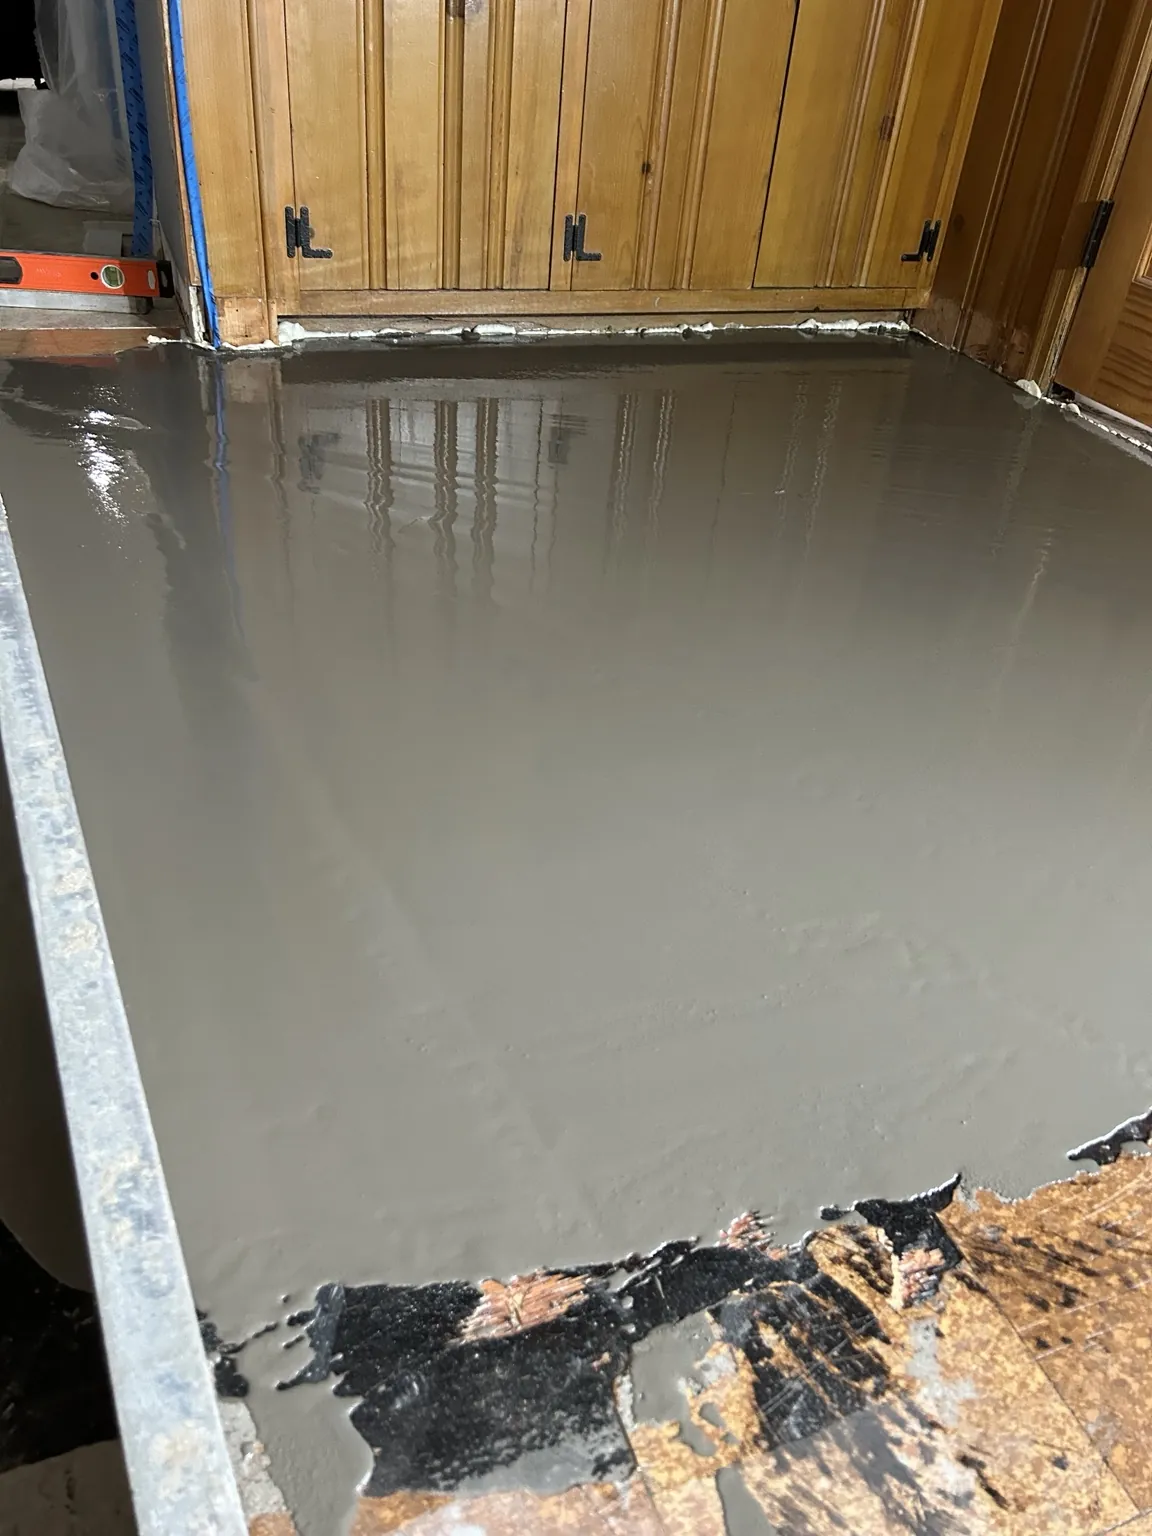
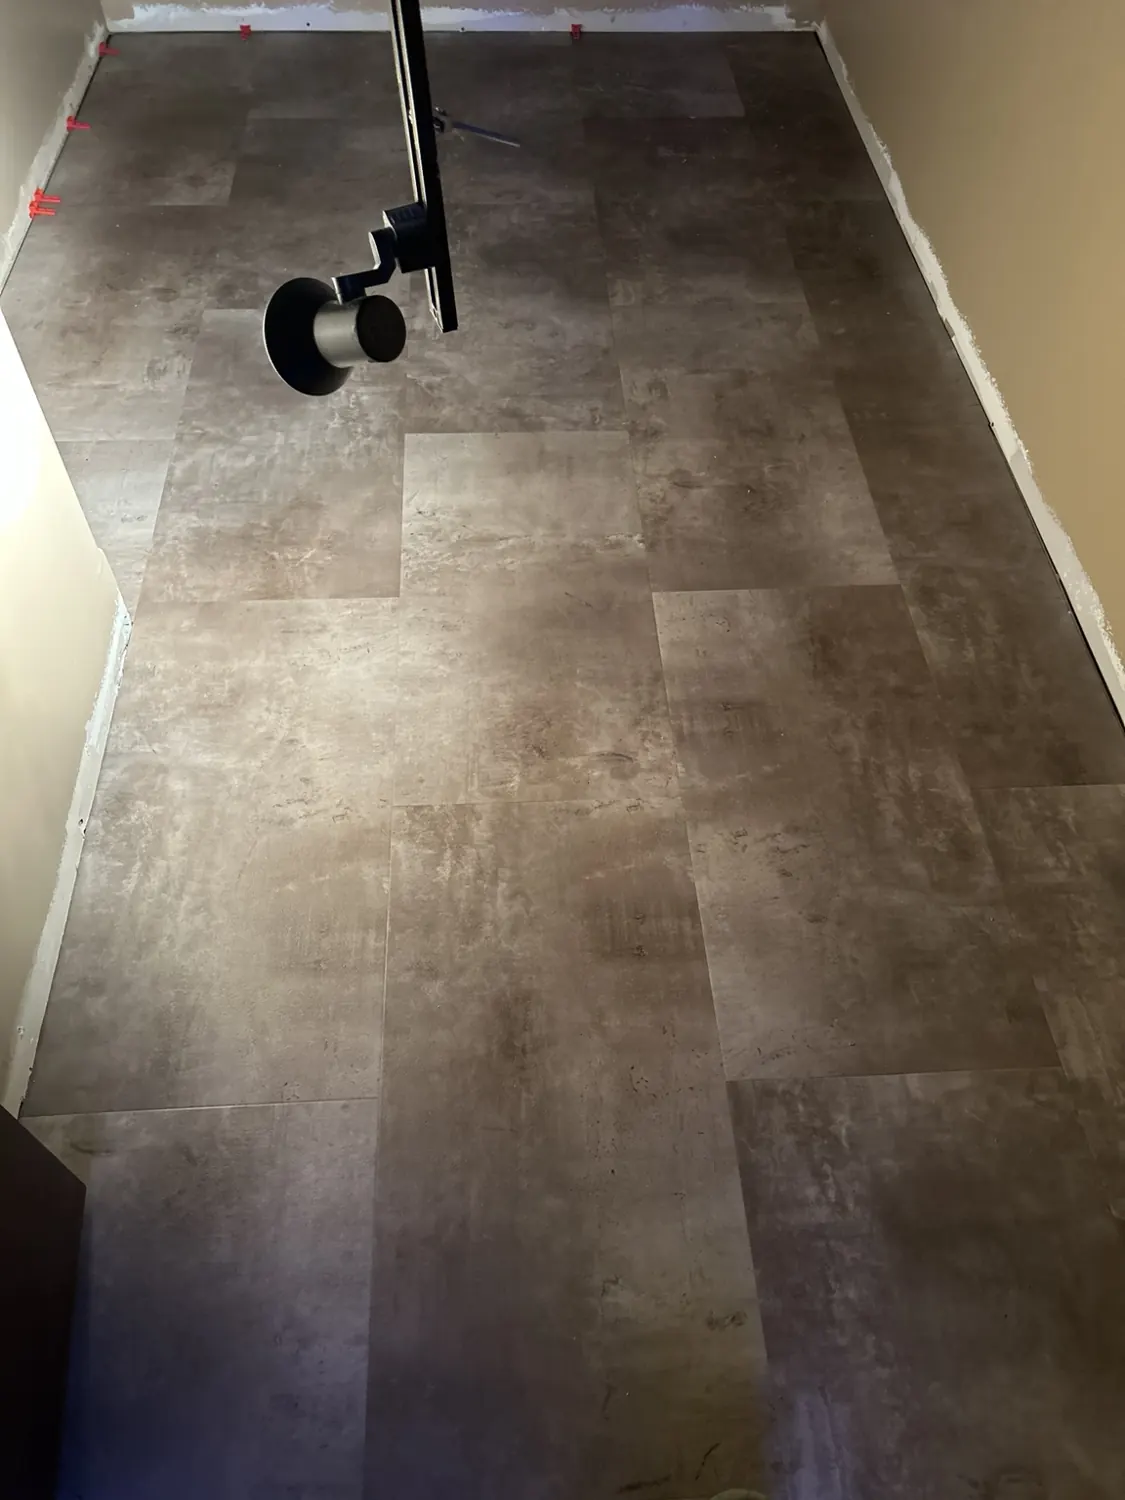
These are installation-stage photos—not finished-room photography. They show layout, leveling and the work beneath the surface.
Leveling the surface
Subfloor preparationLeveling the surfaceBefore finished flooring is installed.
Large-format floor layout
Installation in progressLarge-format floor layoutPlanks placed ahead of final trim.
Marble-look flooring
Installation in progressMarble-look flooringPattern and spacing during installation.
Commercial interiors · Work in progress

Making room for what comes next.

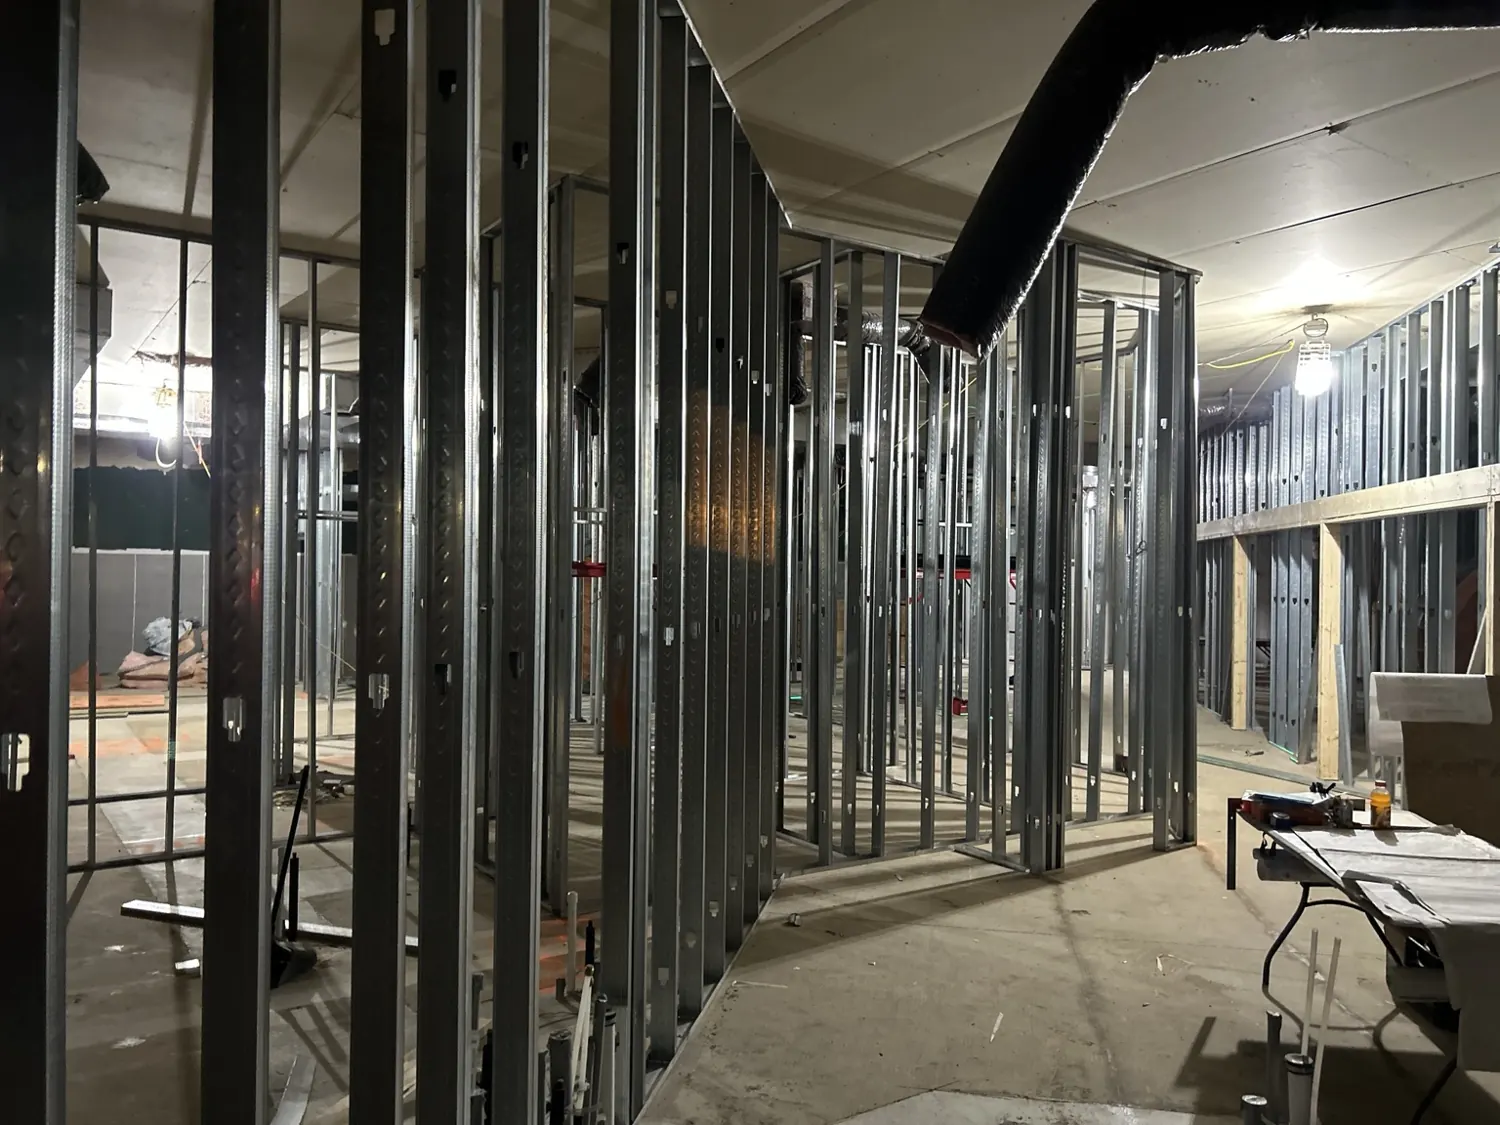
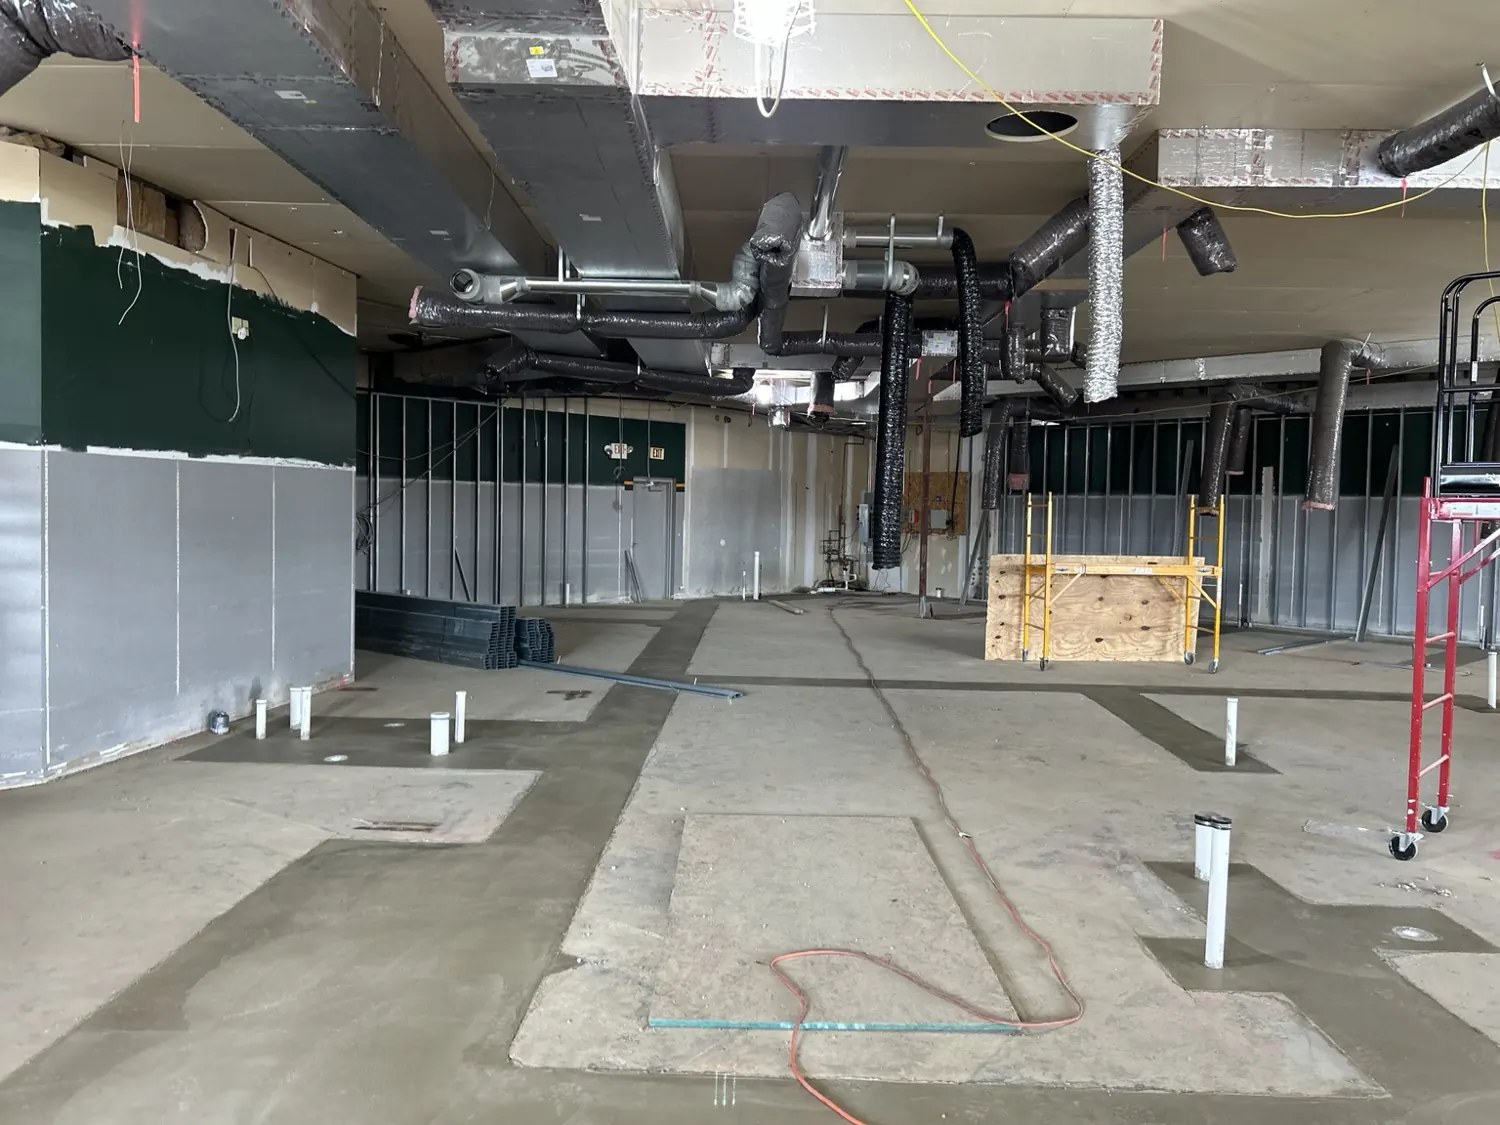
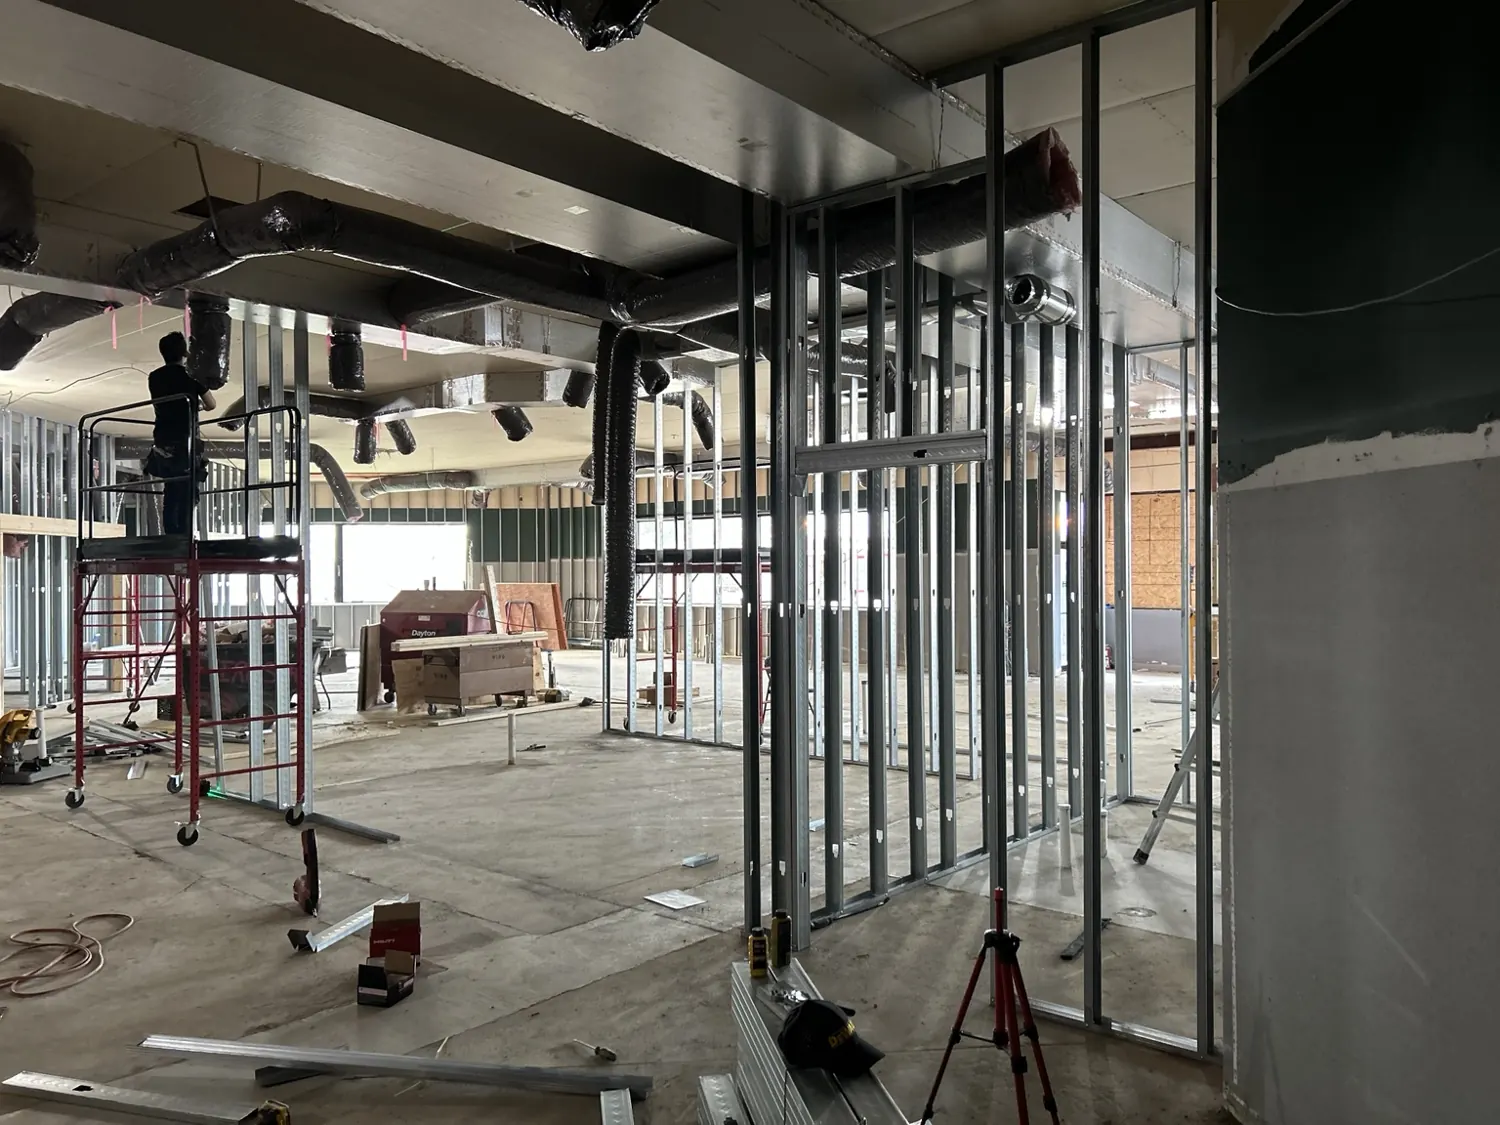
Interior partition framing during a commercial fit-out. These construction-stage photos show the scale and layout work behind a new space.
Open commercial floor plan
Early stageOpen commercial floor plan
Interior partitions taking shape
Construction stageInterior partitions taking shape
Steel-stud wall layout
Construction stageSteel-stud wall layout

Ready to improve your space?

Tell us what you have in mind. We'll start with the scope and the next steps.

Request an Estimate